Developing the Concept: Architecture Short Course (part 2)

Developing the architectural concept into floor plans, designing the form, and refining the spatial ideas are all covered in part 2 of our architecture short course.

The first step in making the abstract concept real is to sketch a floor plan and then give that plan a three-dimensional form. A floor plan is a quick way of describing the hierarchy and relationship of spaces and it begins fixing their real physical dimensions and shapes. Throughout the design process architects must continually consider the design in both the plan, or overhead view, and the sectional, or volumetric view. The easiest way I’ve found to do this is to begin by sketching a plan and then construct a three-dimensional version of that plan either in model form or by sketching.

In order to get to three dimensions, we have to make some decisions about form, space, and order. When we speak about form we’re referring not only to a building’s shape but also to its size, scale, color, and texture…basically, all the visual properties of an object. Form has a direct relationship to space in that it influences both interior and exterior rooms. And lastly, order is how we choose to orient and relate the forms and spaces to each other. This directs the inhabitant’s experience of a place.

We'll review strategies for refining the floor plan, designing meaningful building forms, editing, and converting two-dimensional abstract concepts into three-dimensional buildings.

Architectural Model Making Techniques + Tutorial

One of the driving forces behind my desire to become an architect from a very young age, was model making. Architecture was one of the few professions where sketching and constructing scale models out of cardboard and balsa – what I viewed as playing – was not only acceptable but encouraged.

Although many architects have abandoned physical modeling in favor of computer modeling I've kept it alive in my daily practice. In this video tutorial, I share the techniques I use to make models in hopes that the craft persists as not only a design tool but so we all can experience the pleasure of seeing the world from a different perspective.


Architecture Short Course - How Architects Begin the Design Process

All architecture begins with a concept. If you’re struggling to find one, curious as to what one is, or simply wondering how architects begin their projects, this short video course will walk you through the process I use and some of the techniques I rely on to develop architectural concepts all illustrated with one of my residential projects.

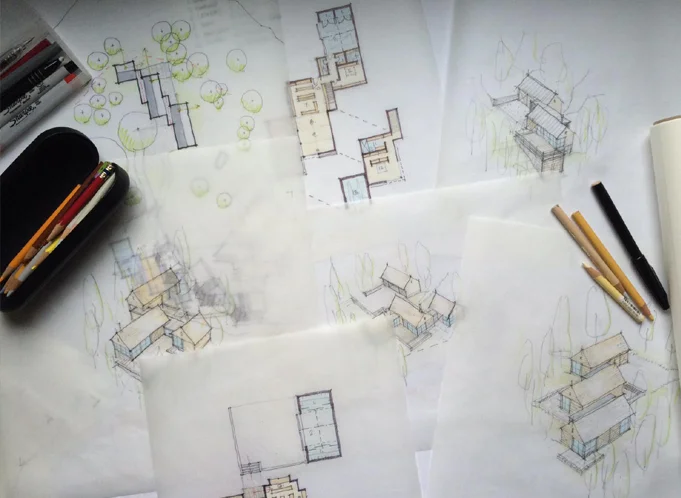
Very simply stated, a concept is an idea that underpins your project. To an architect, the concept is what distinguishes a work of architecture from a mere building. At its core, architecture seeks to solve problems. It’s the questions we ask that will determine which problems our architecture will solve. Developing a concept allows us to frame the questions we’re asking and it guides the design process. Choosing the starting point for your design can be intimidating and an early stumbling block for designers of any skill level. But it doesn’t have to be.  

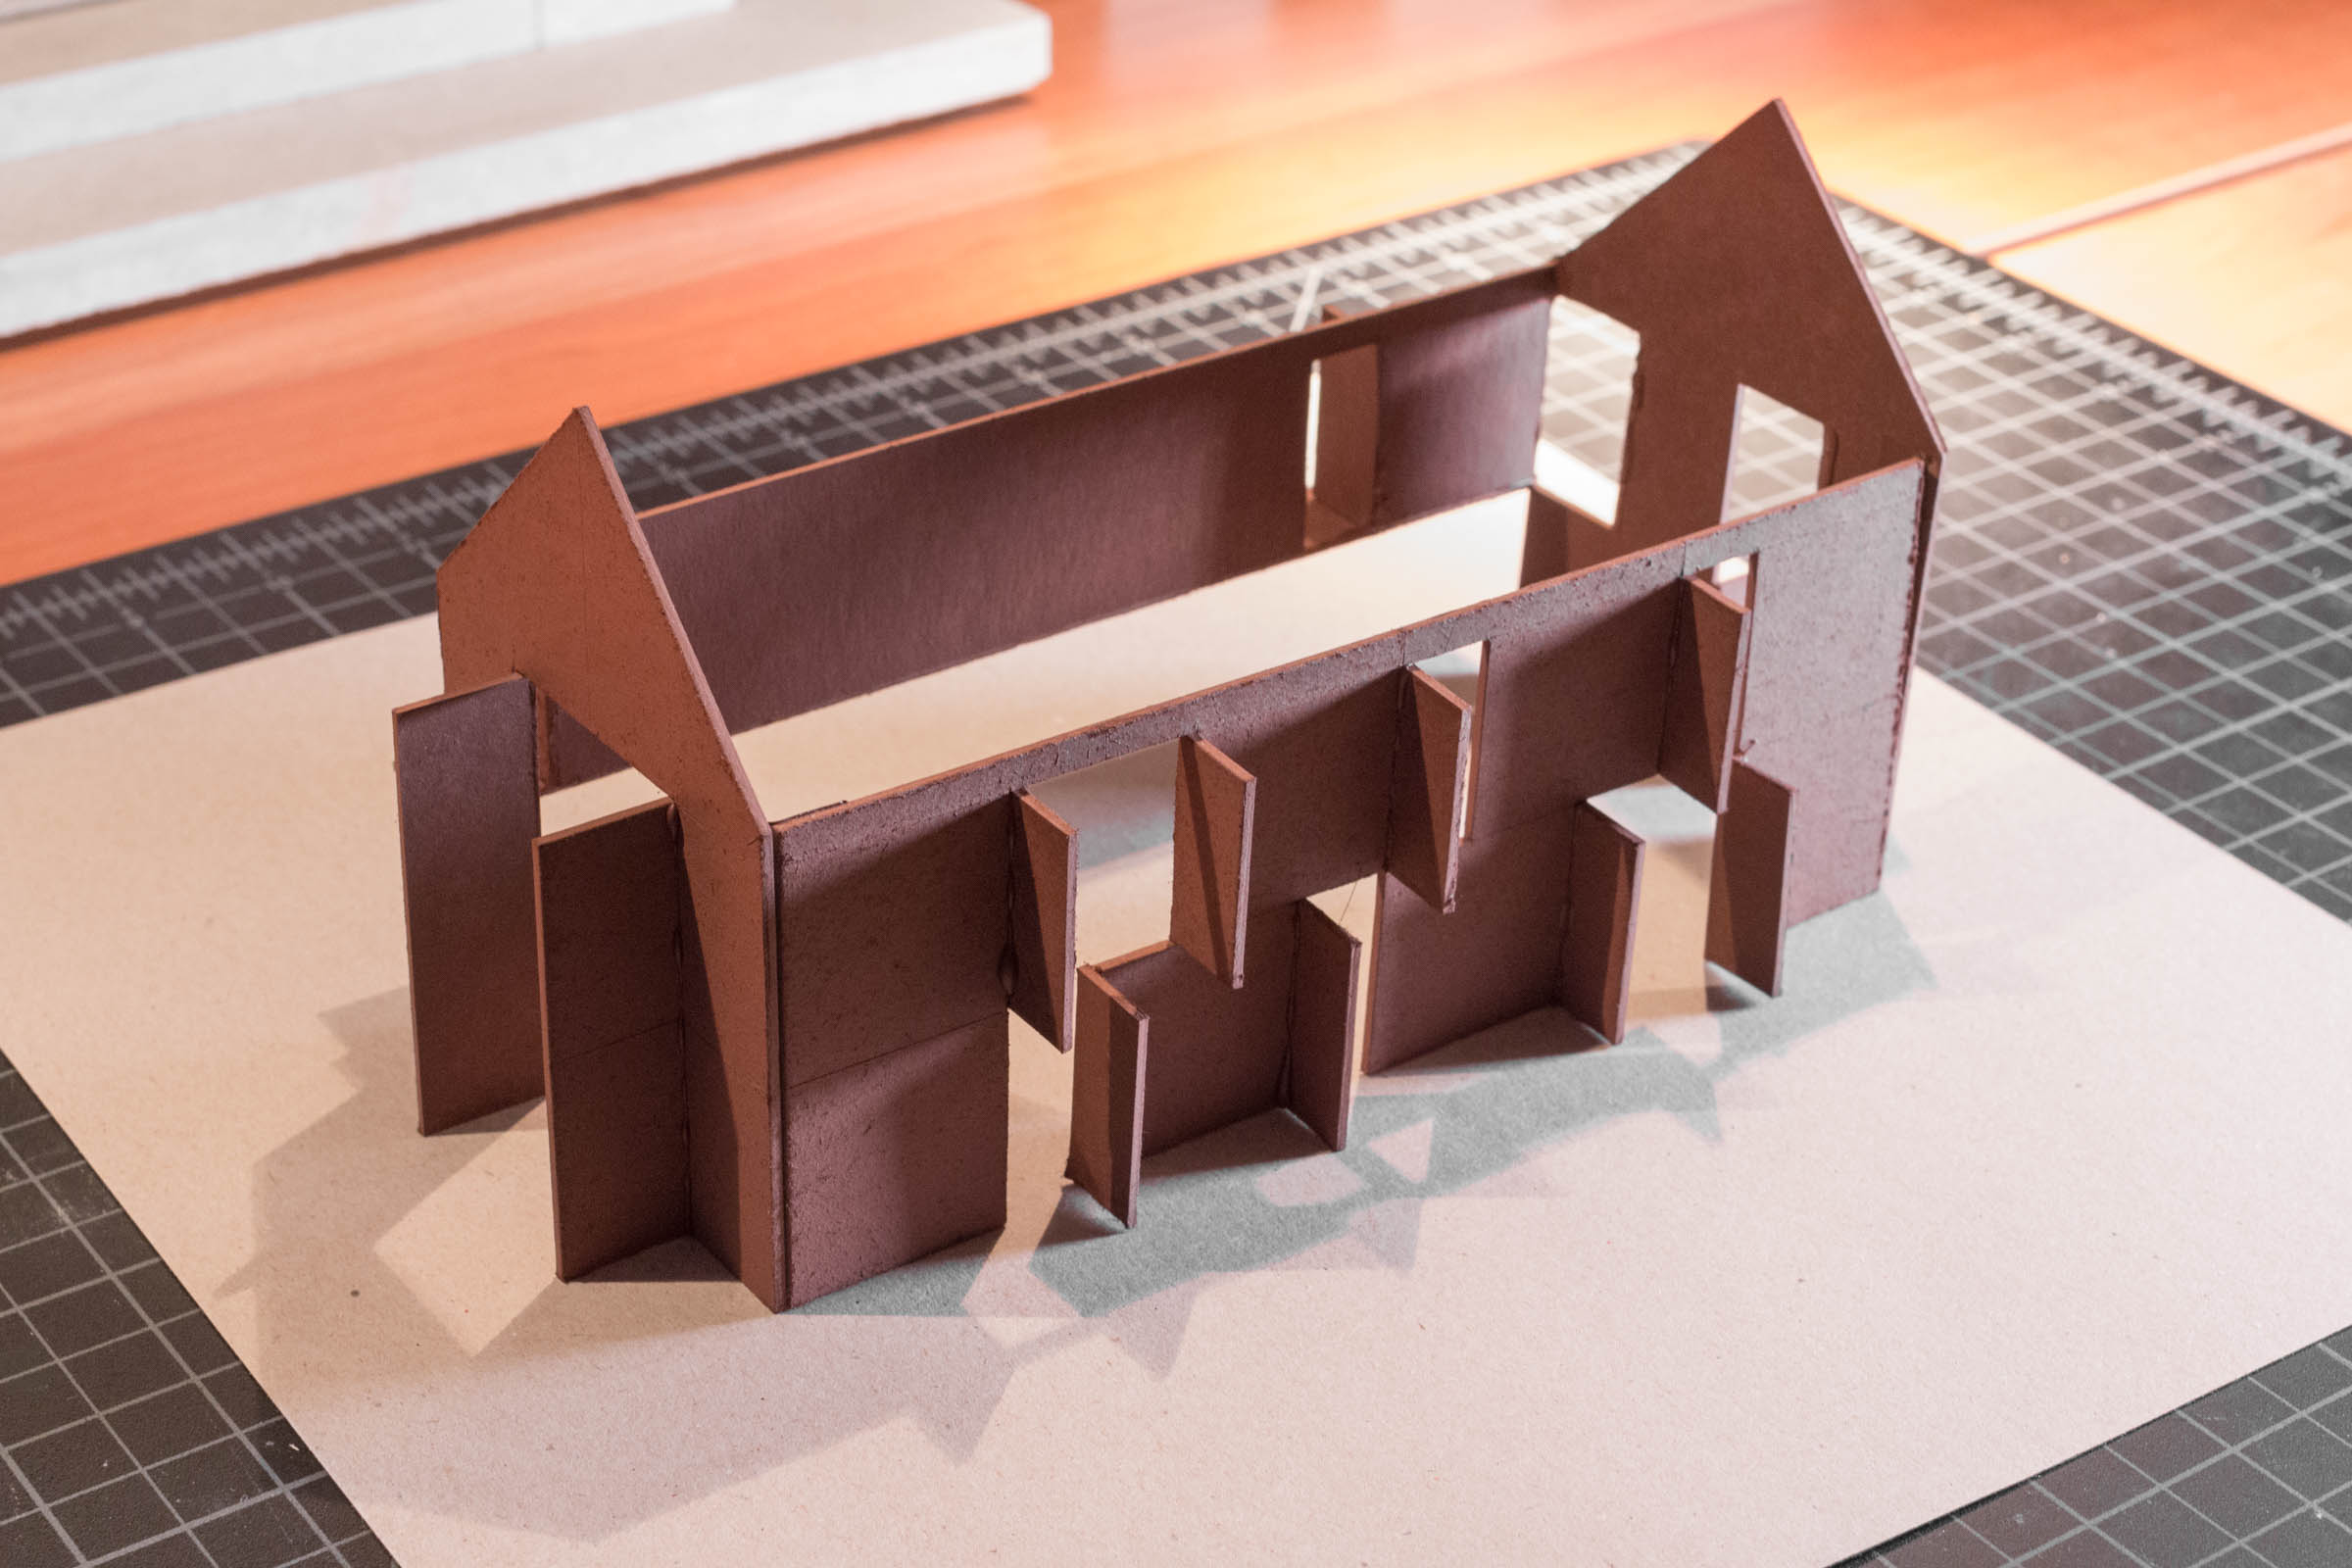
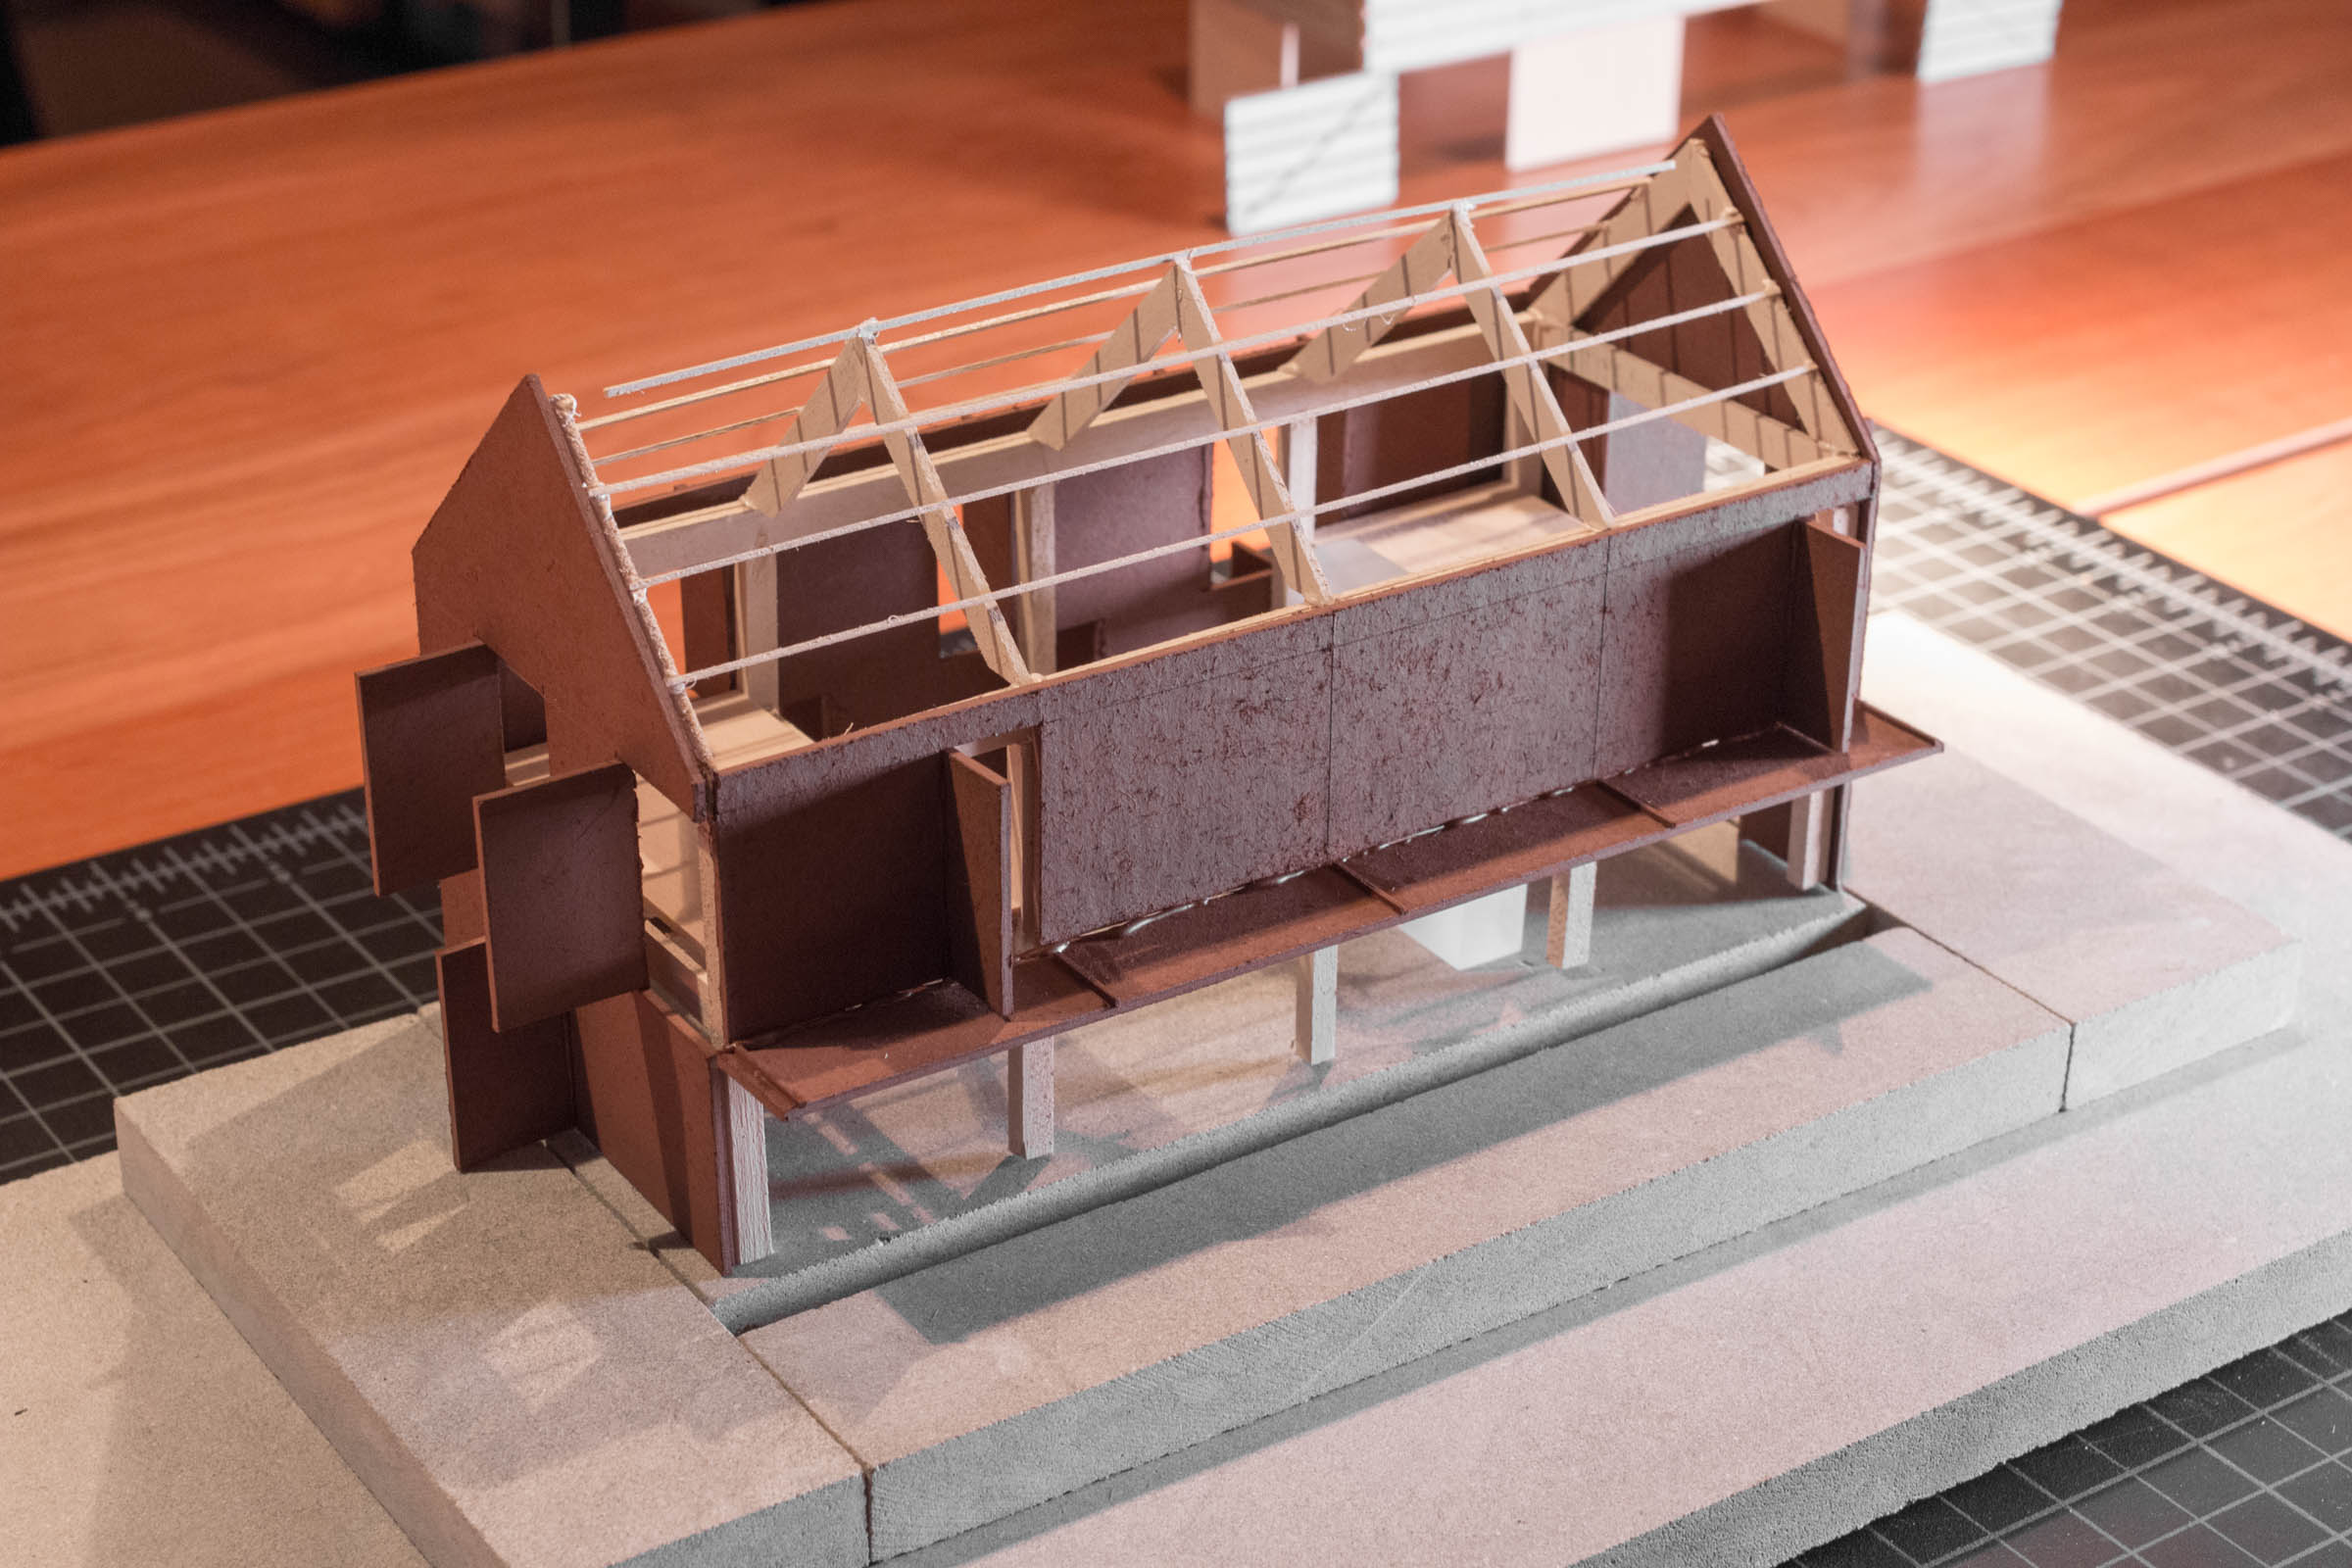
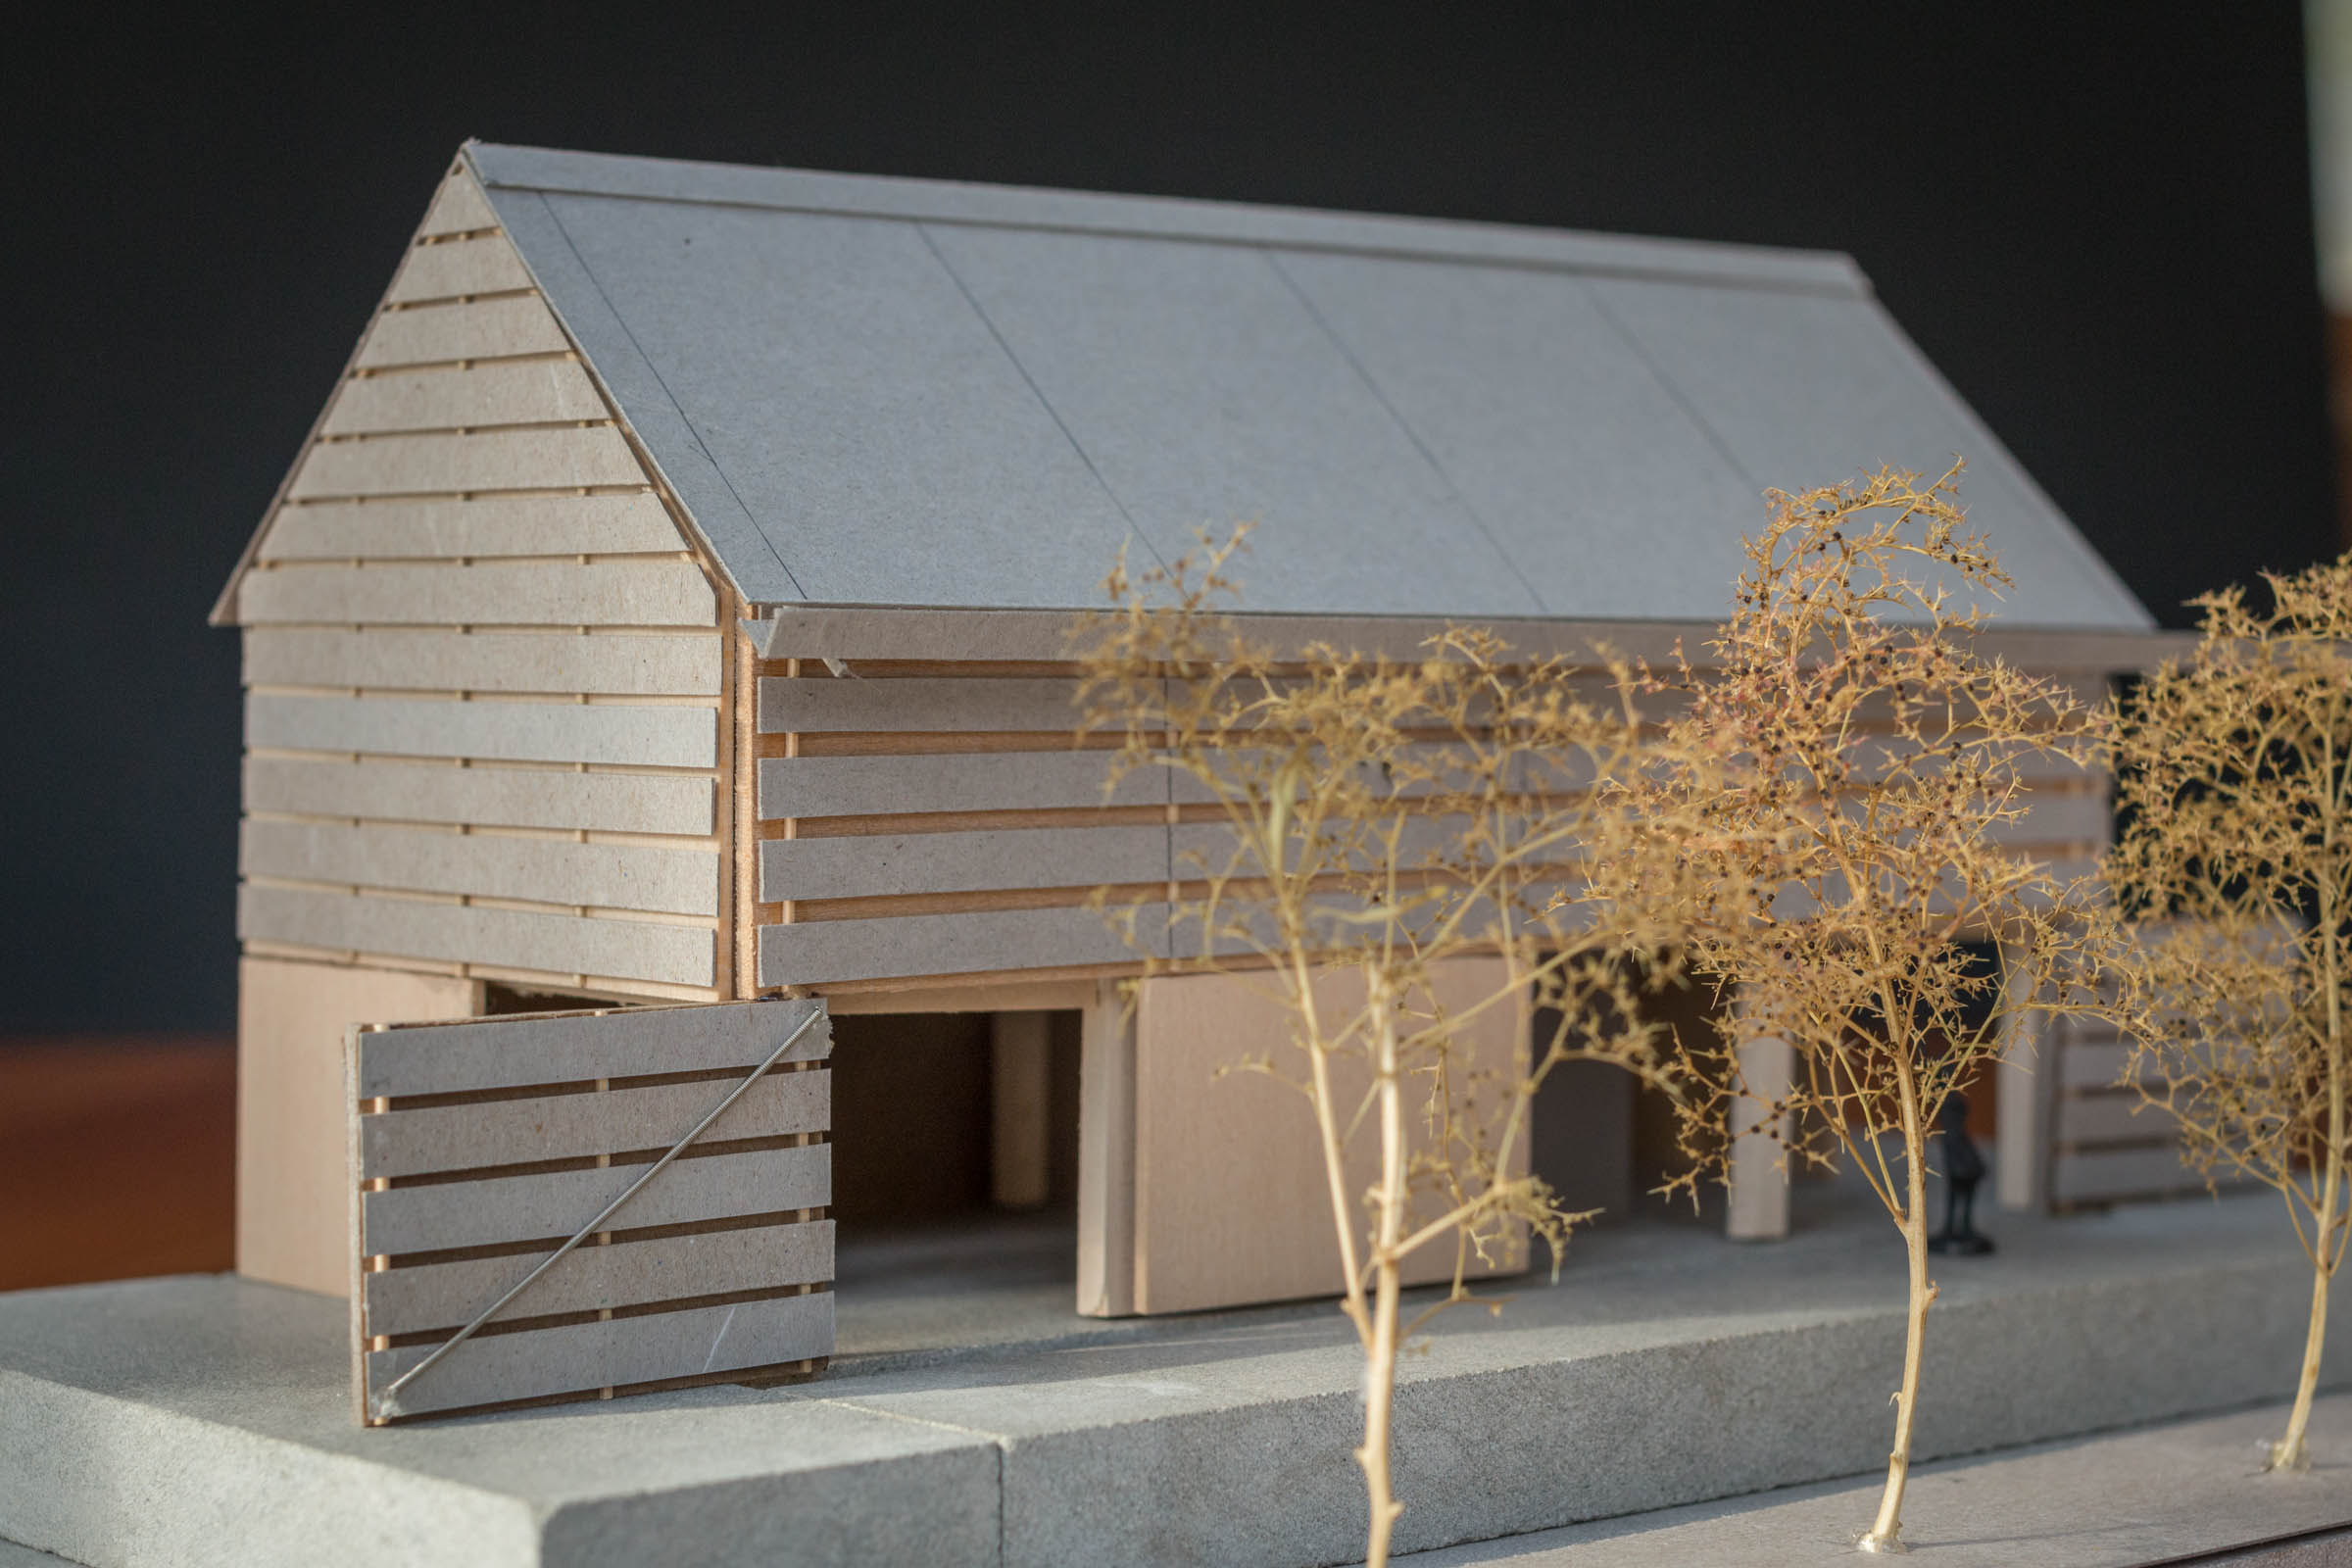
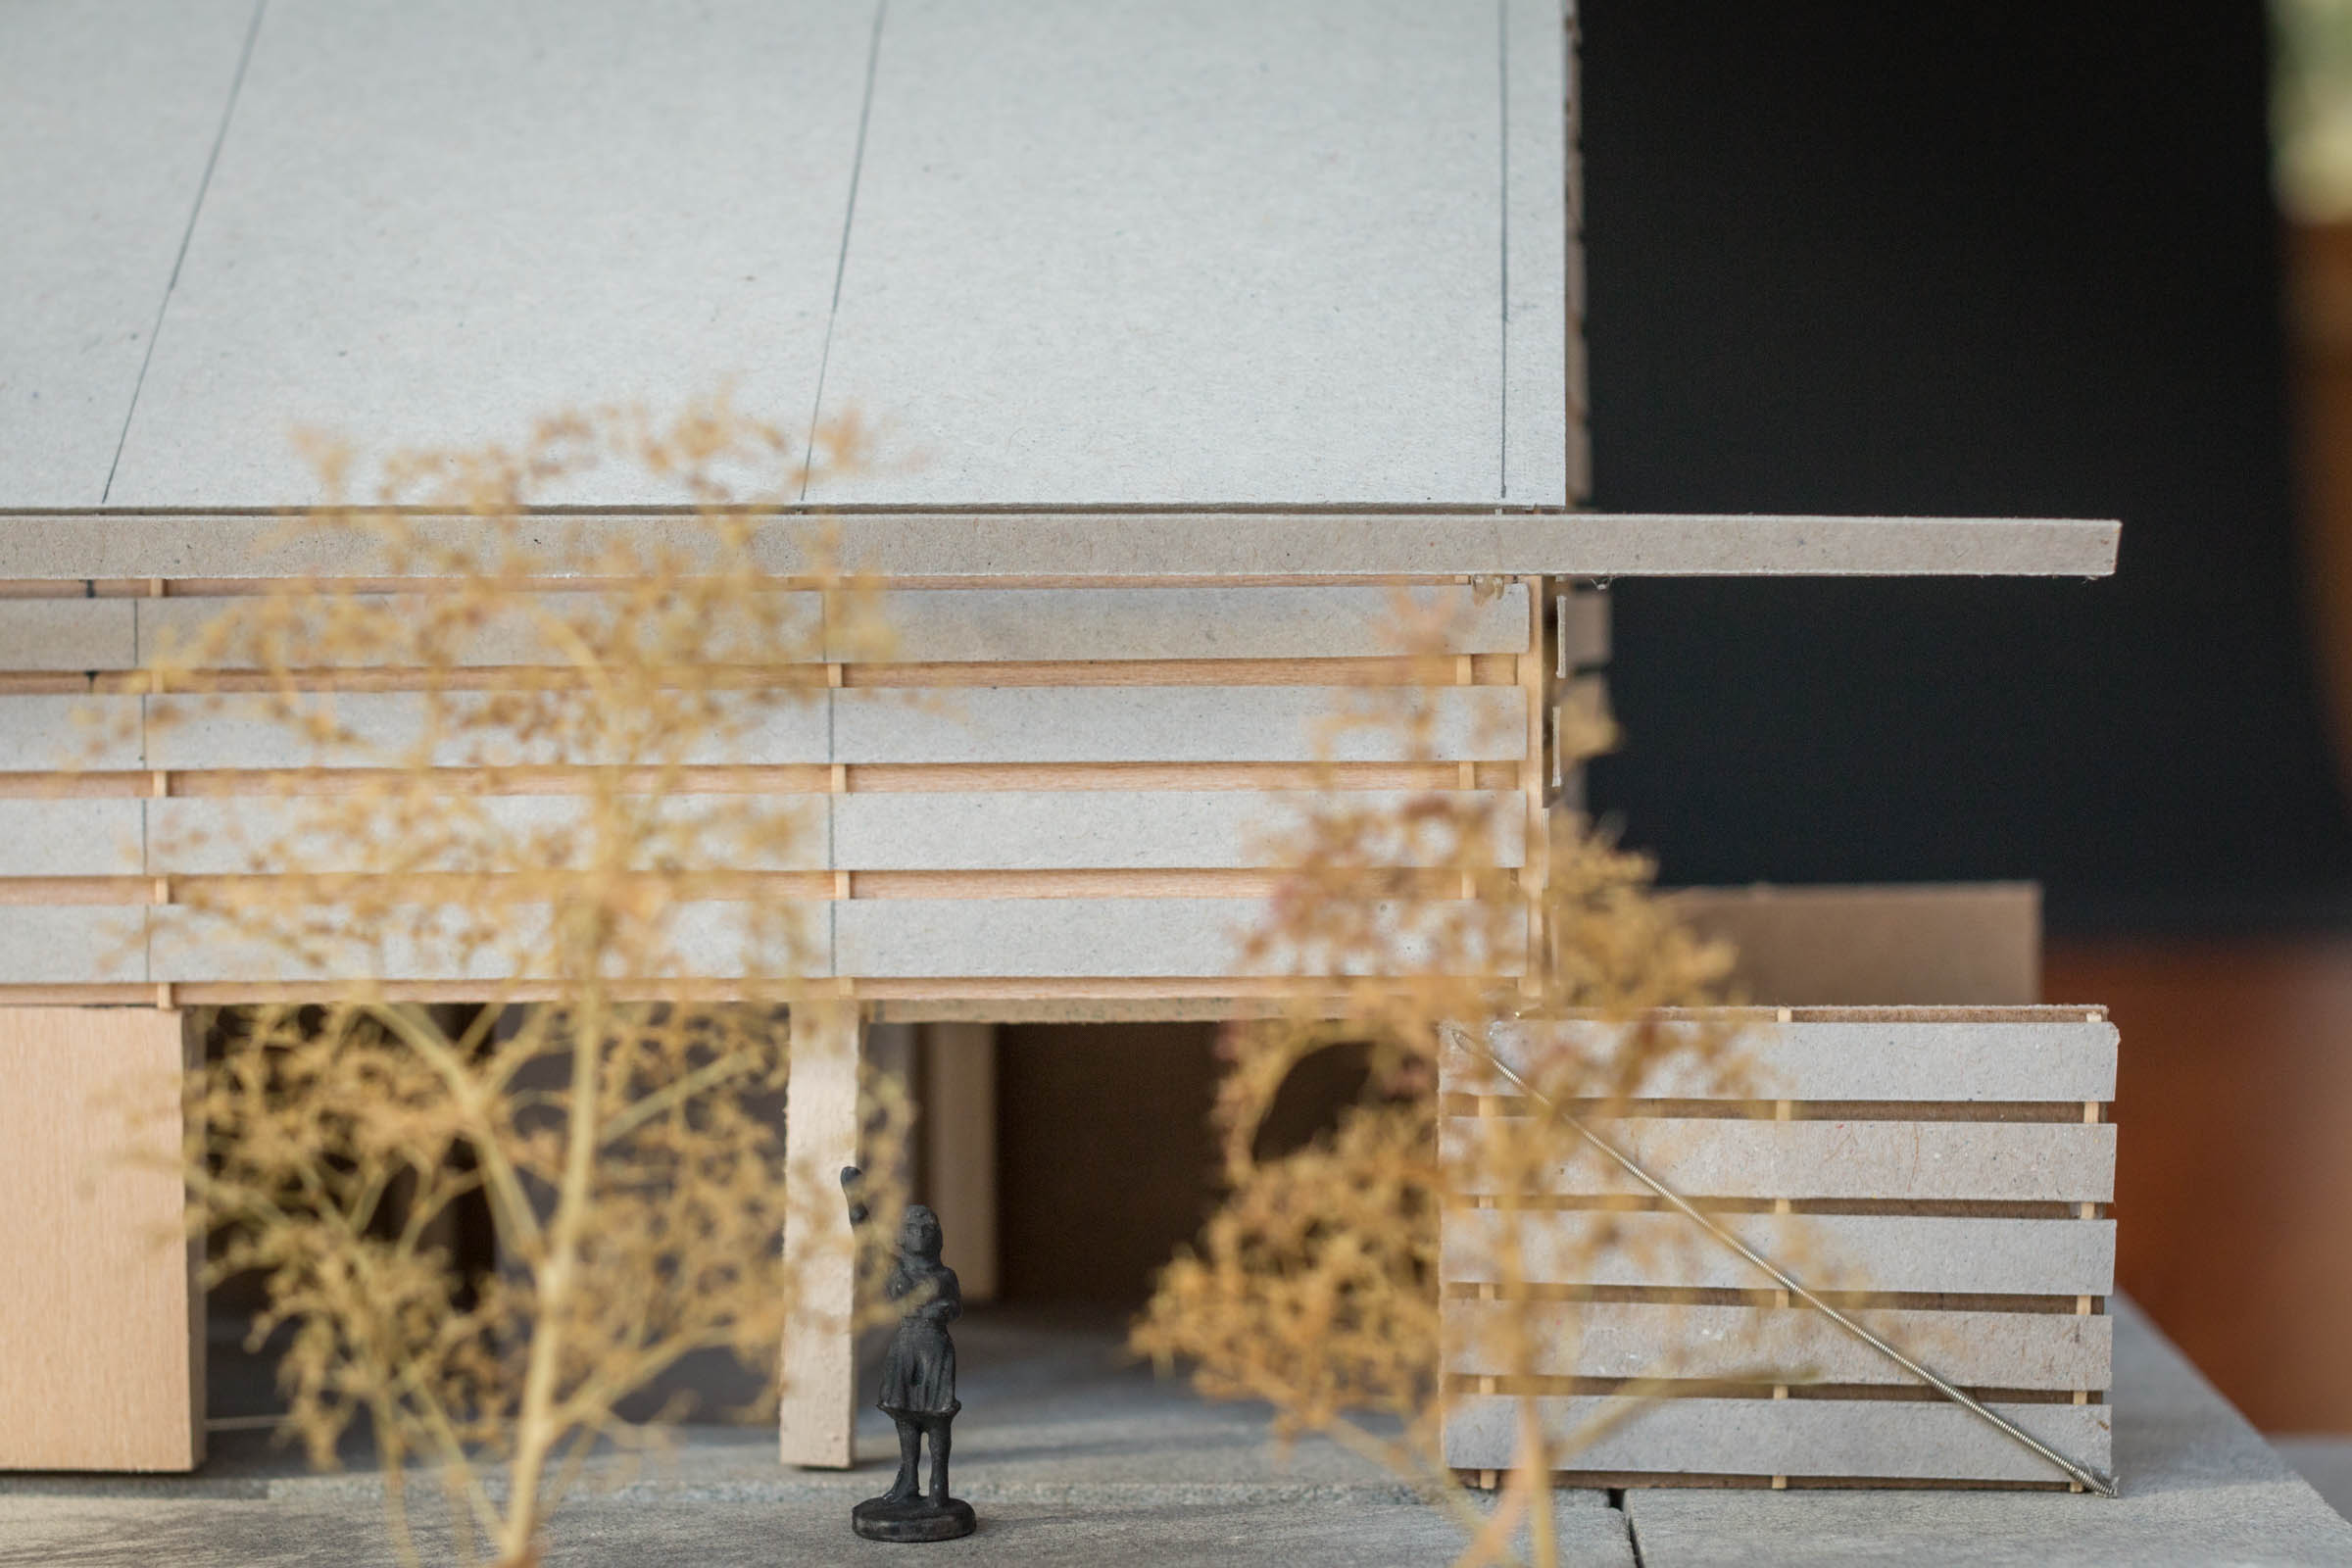
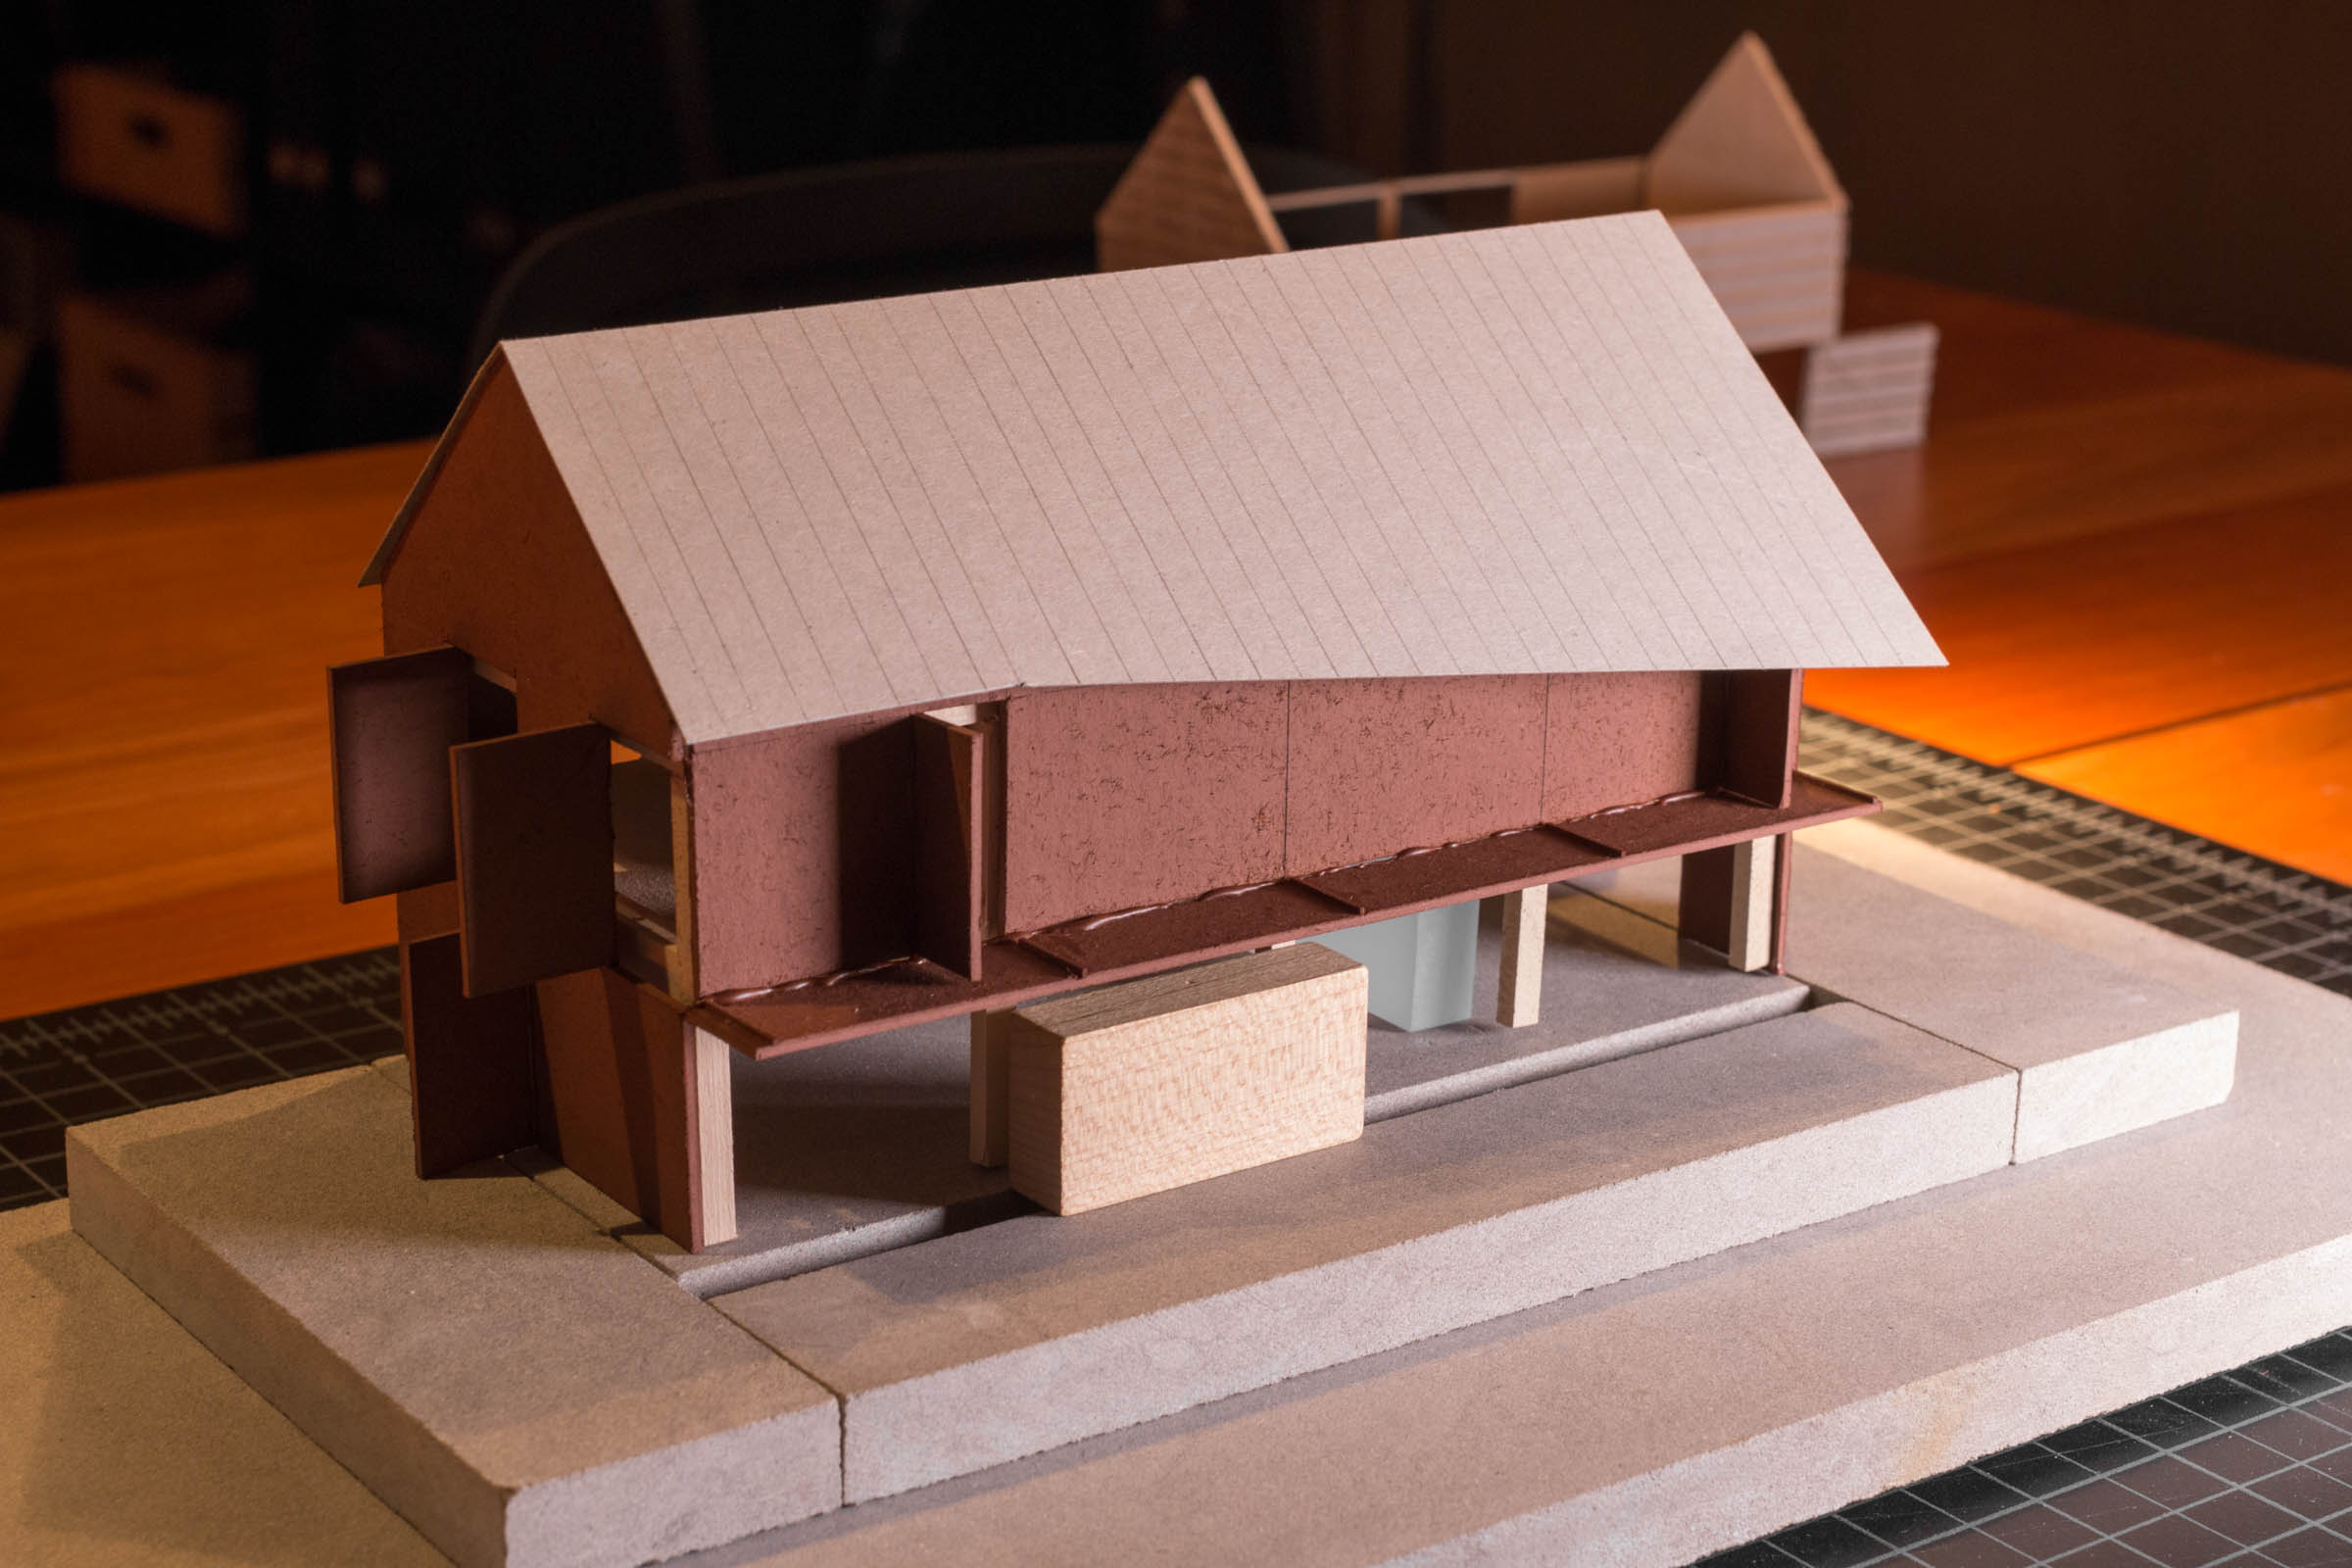
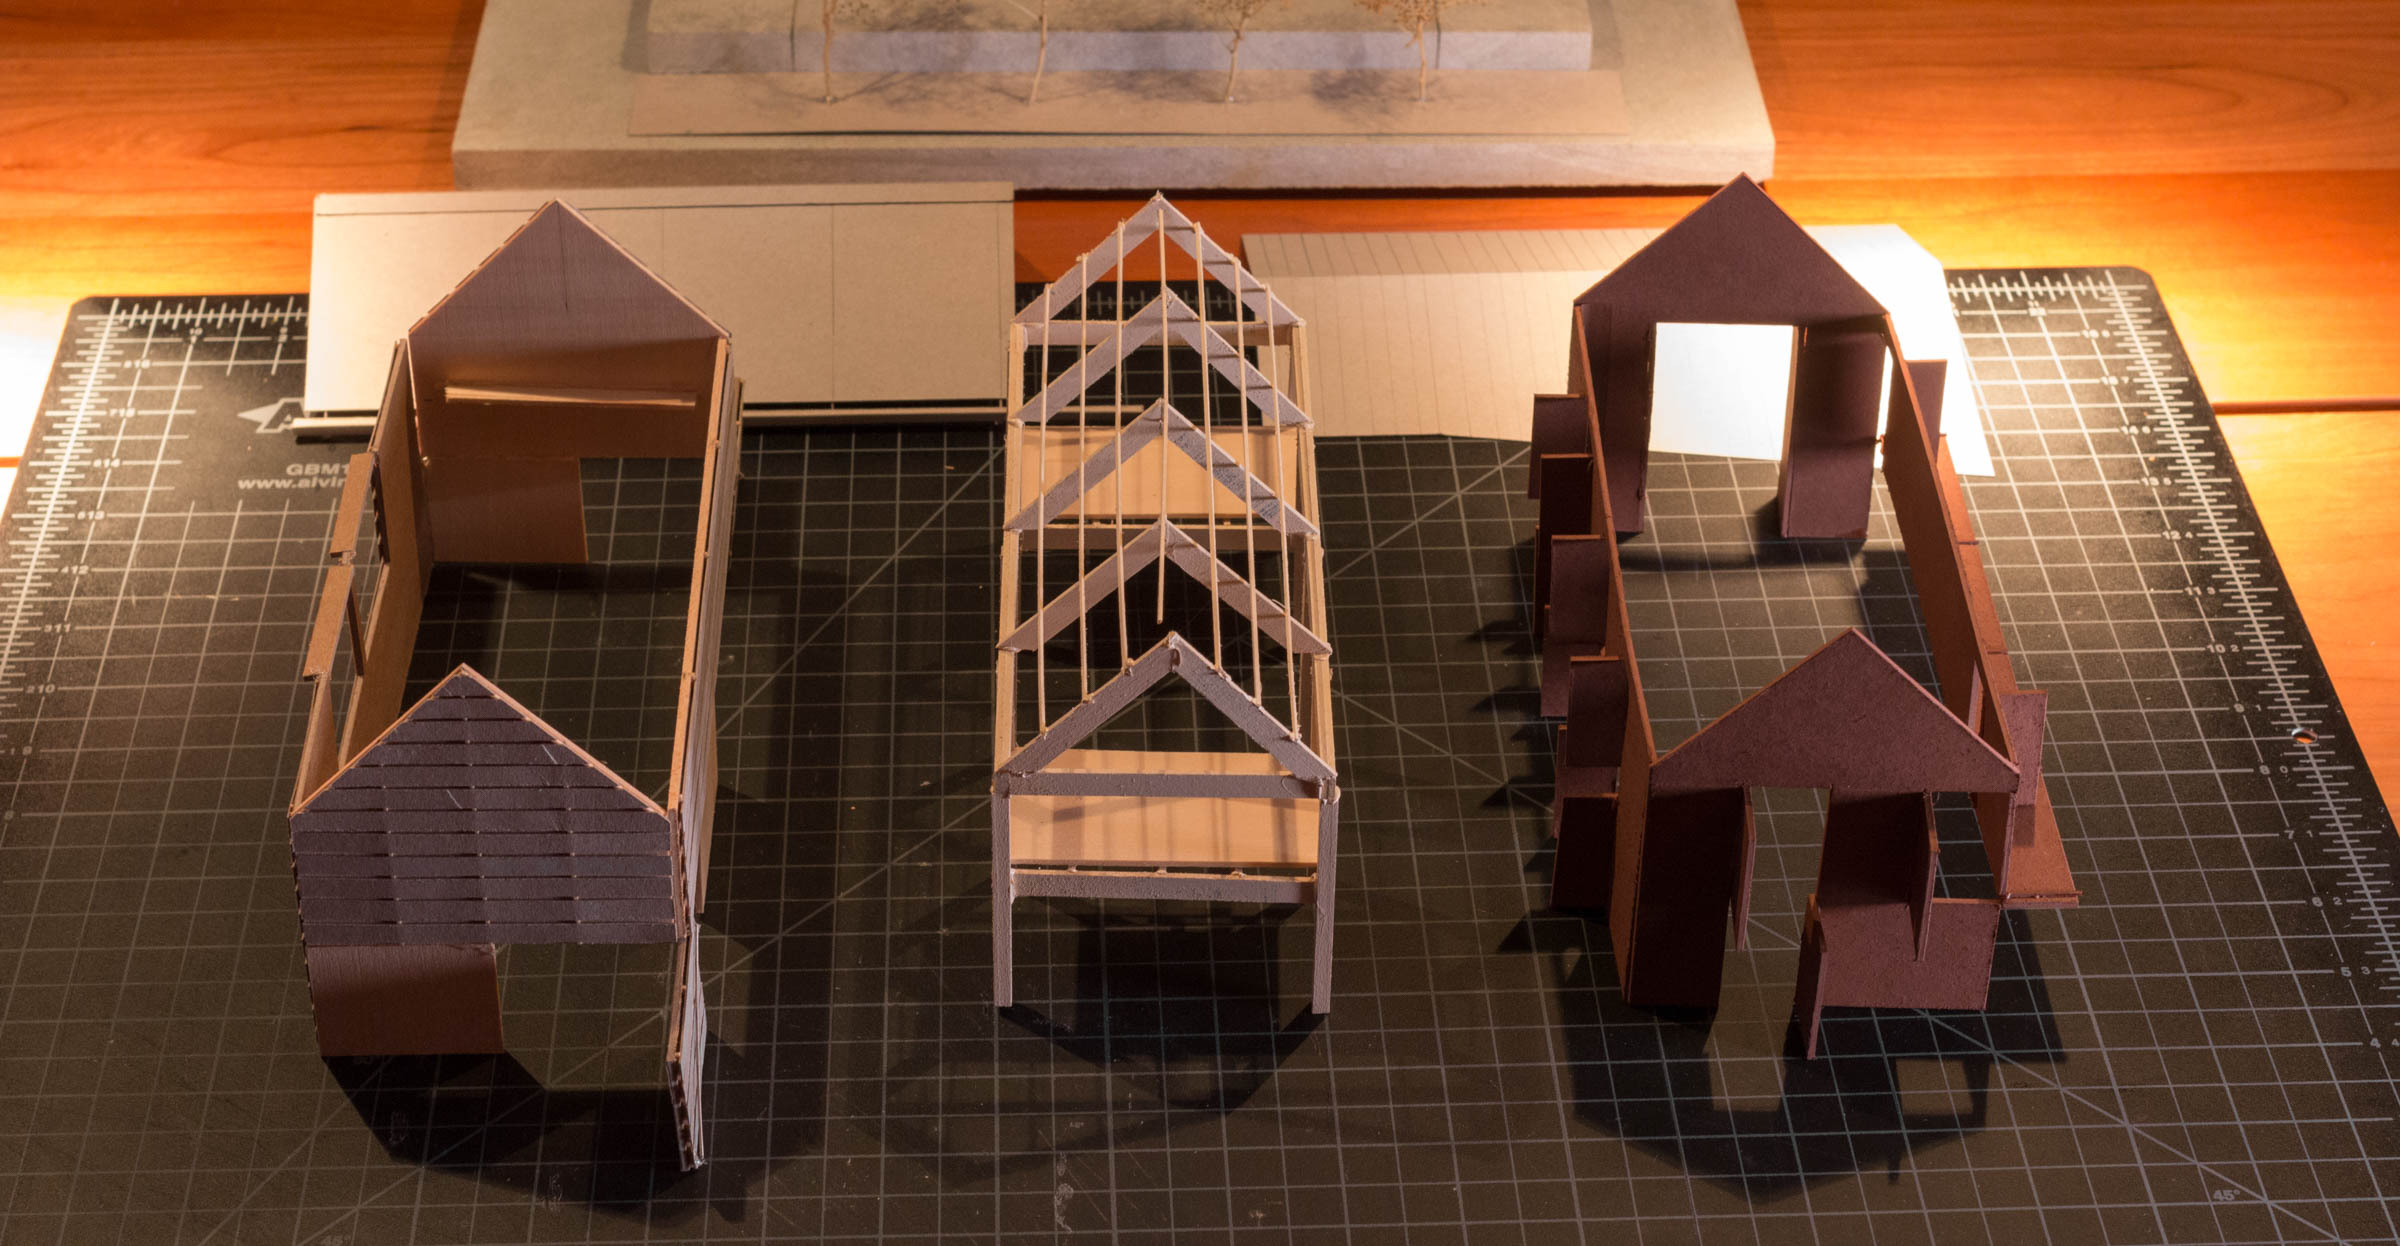
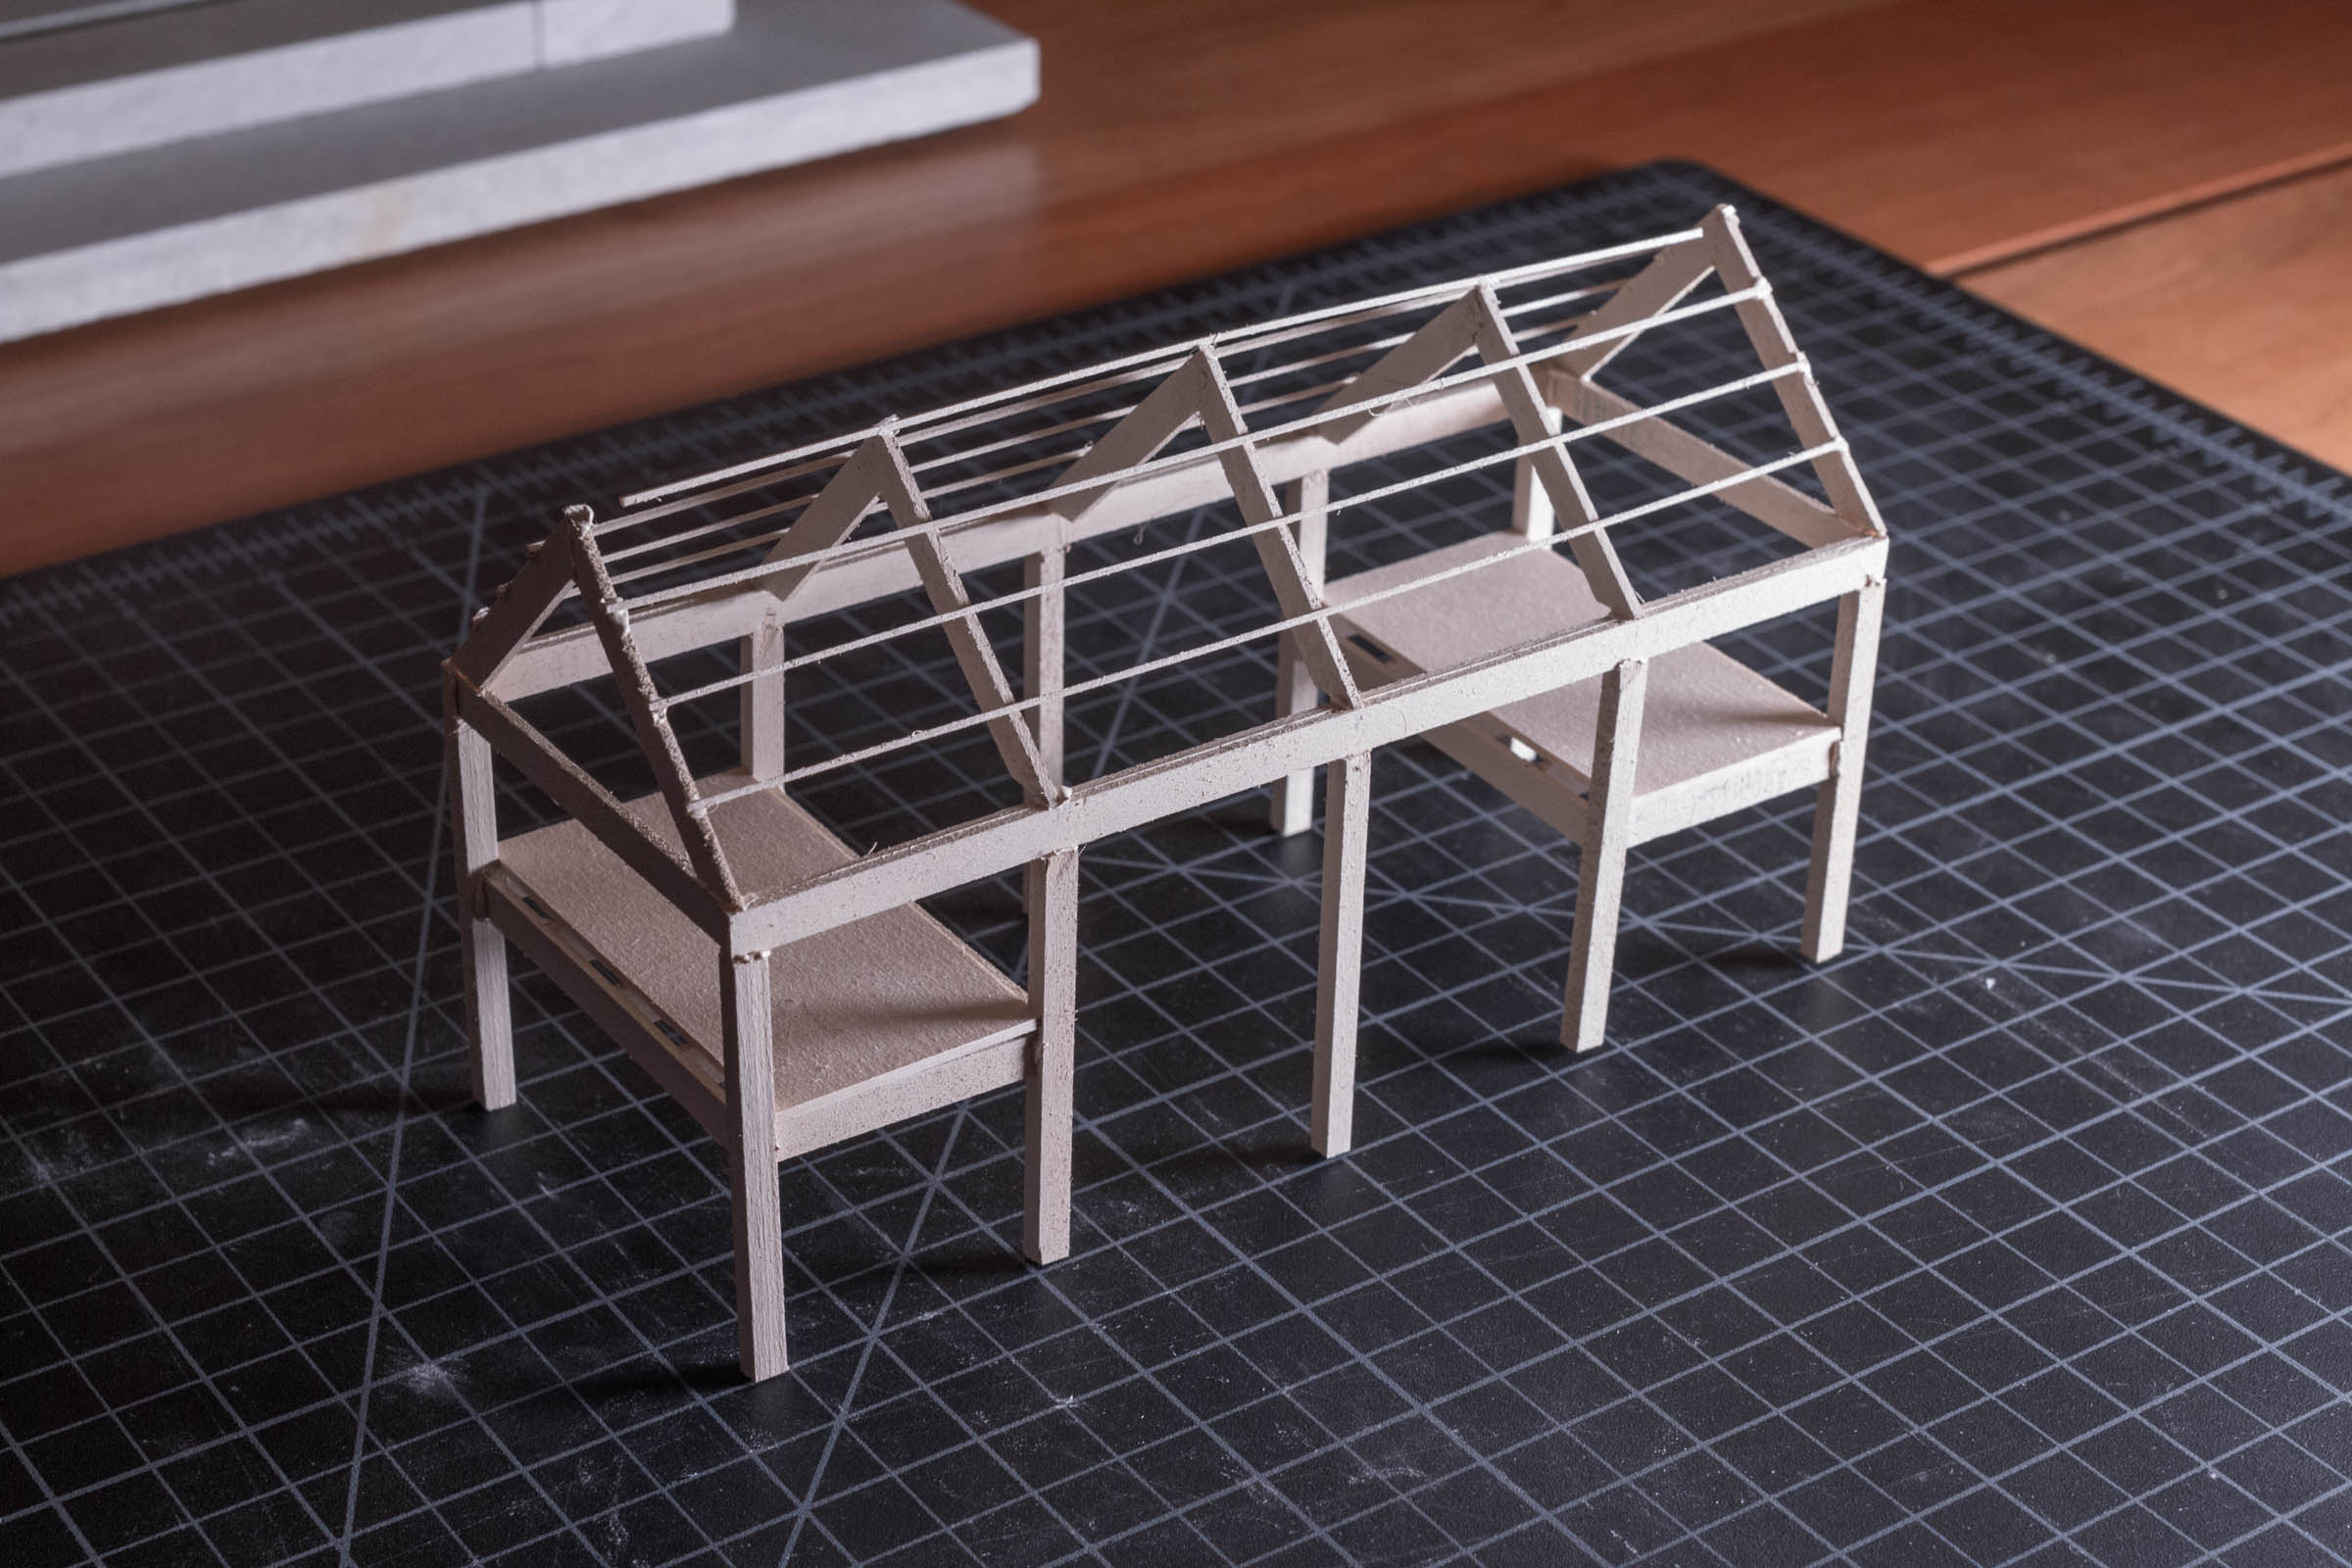
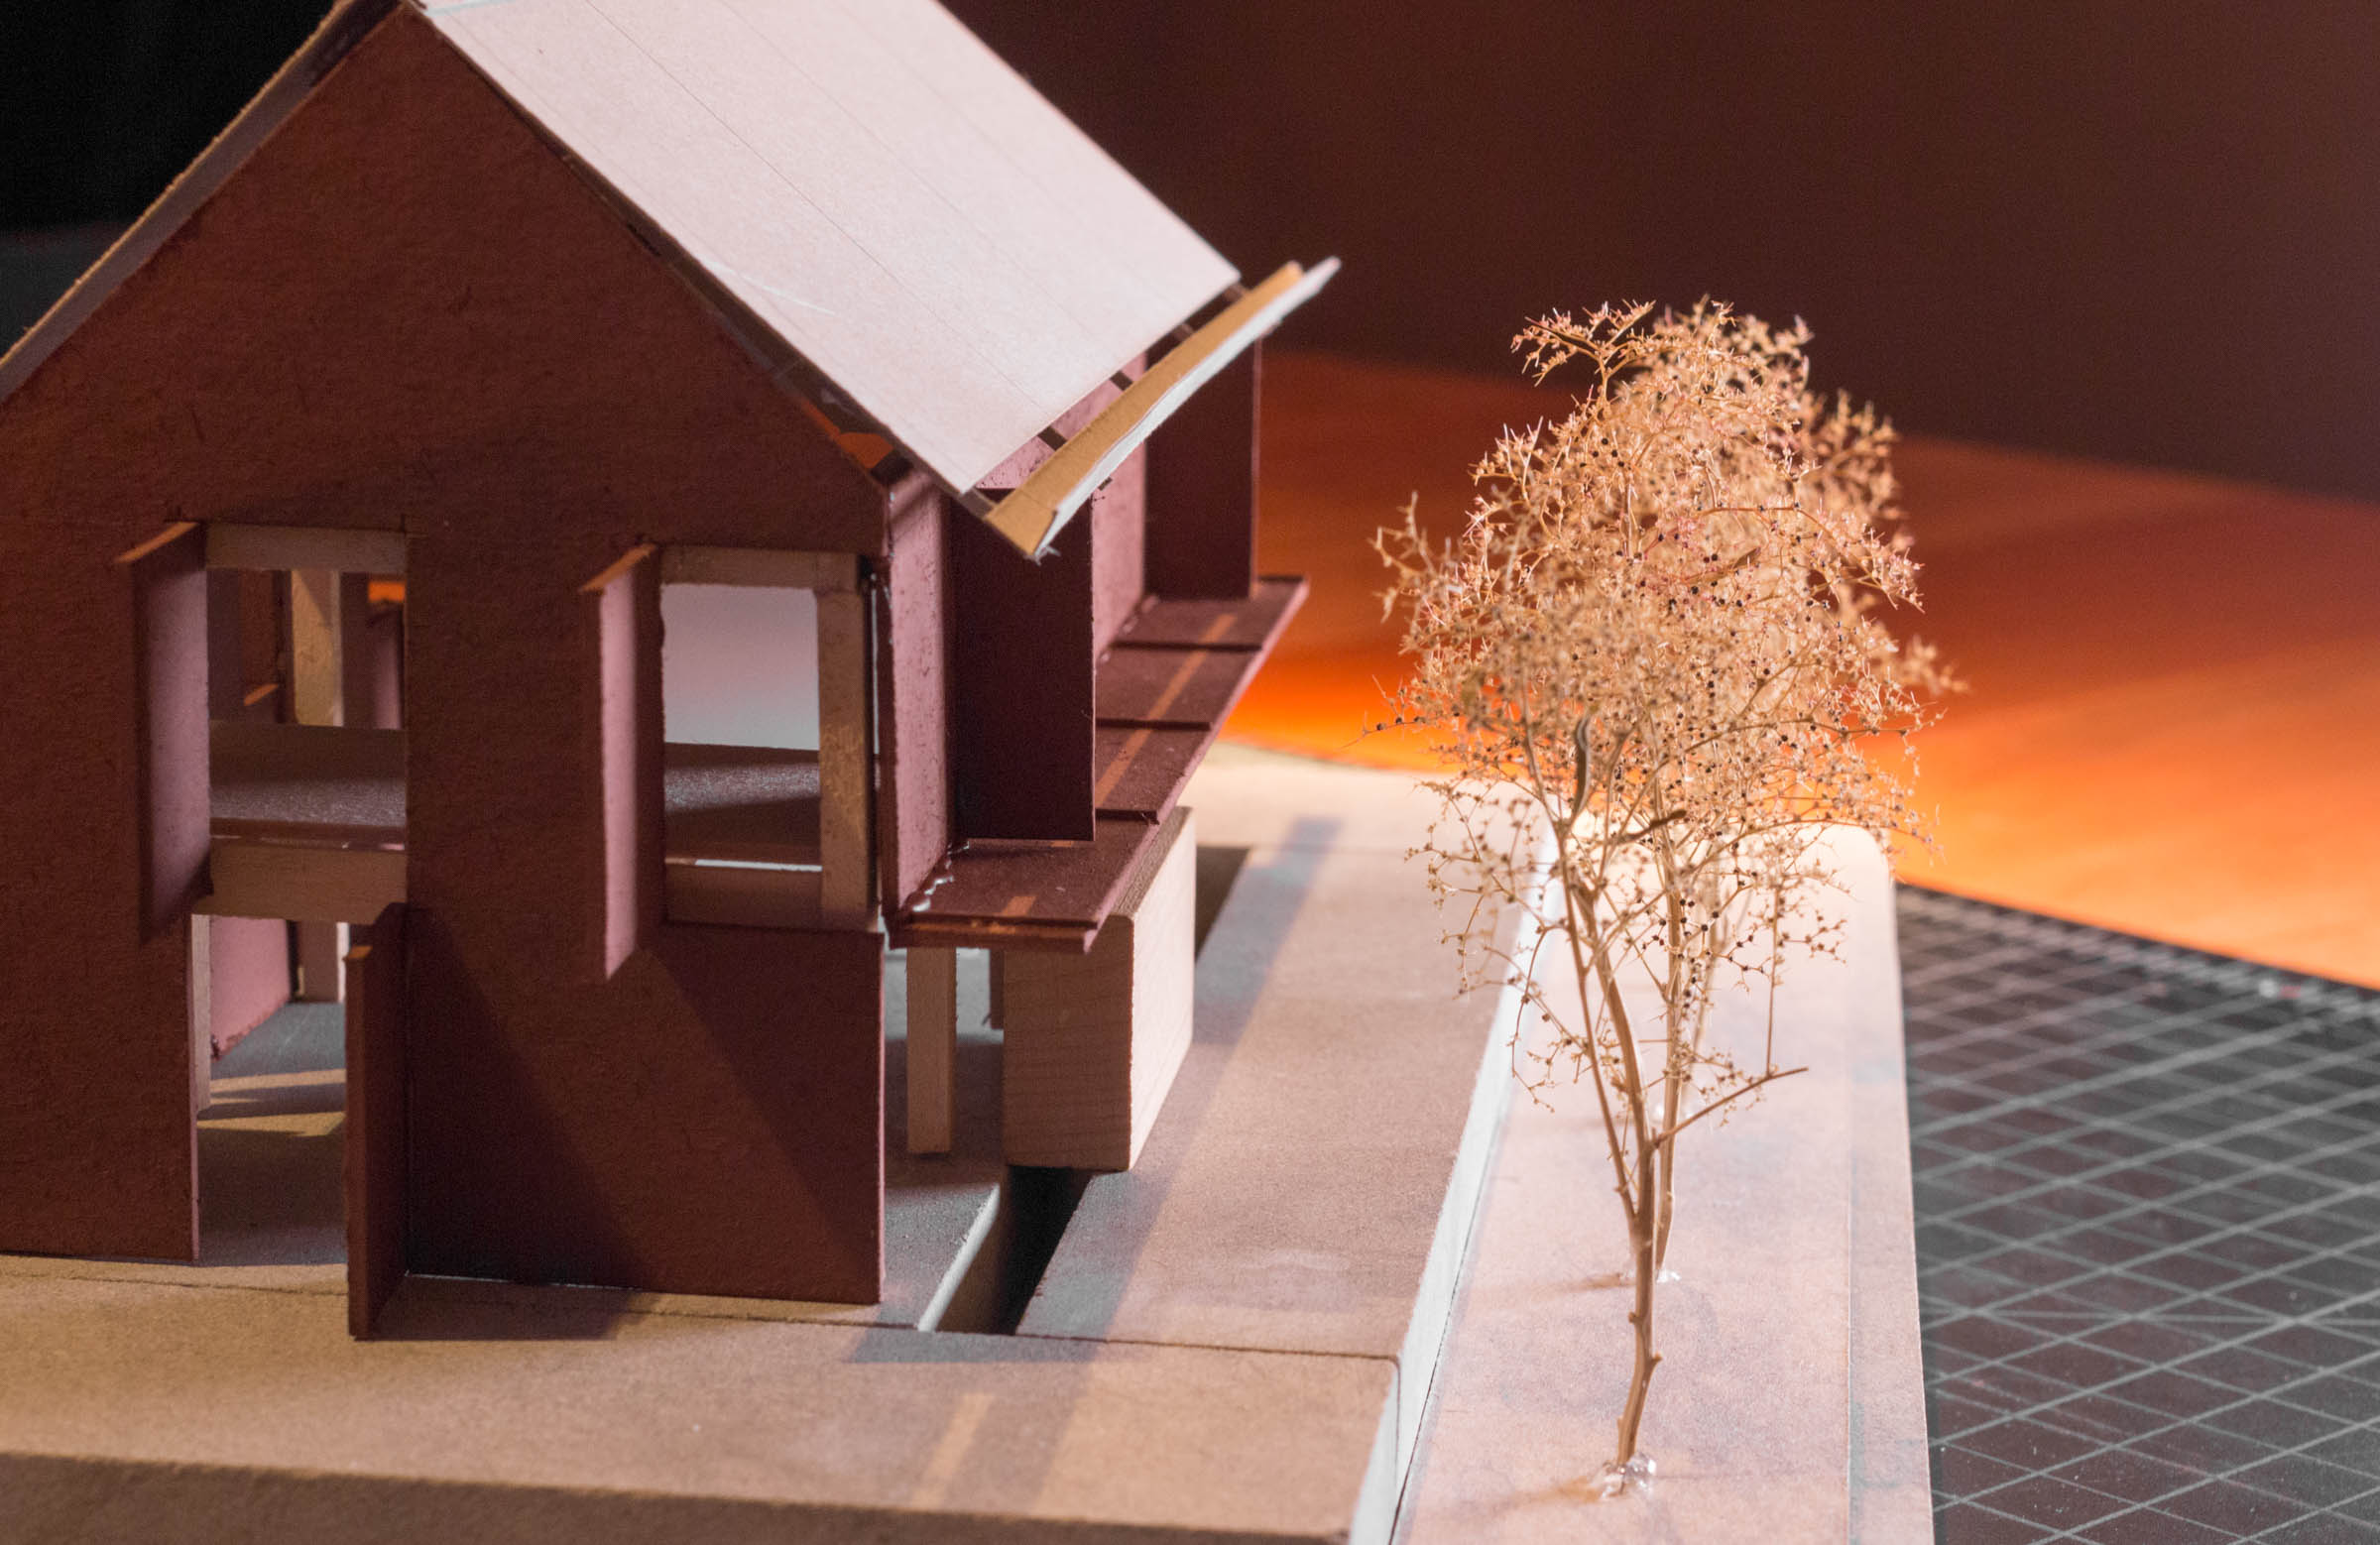
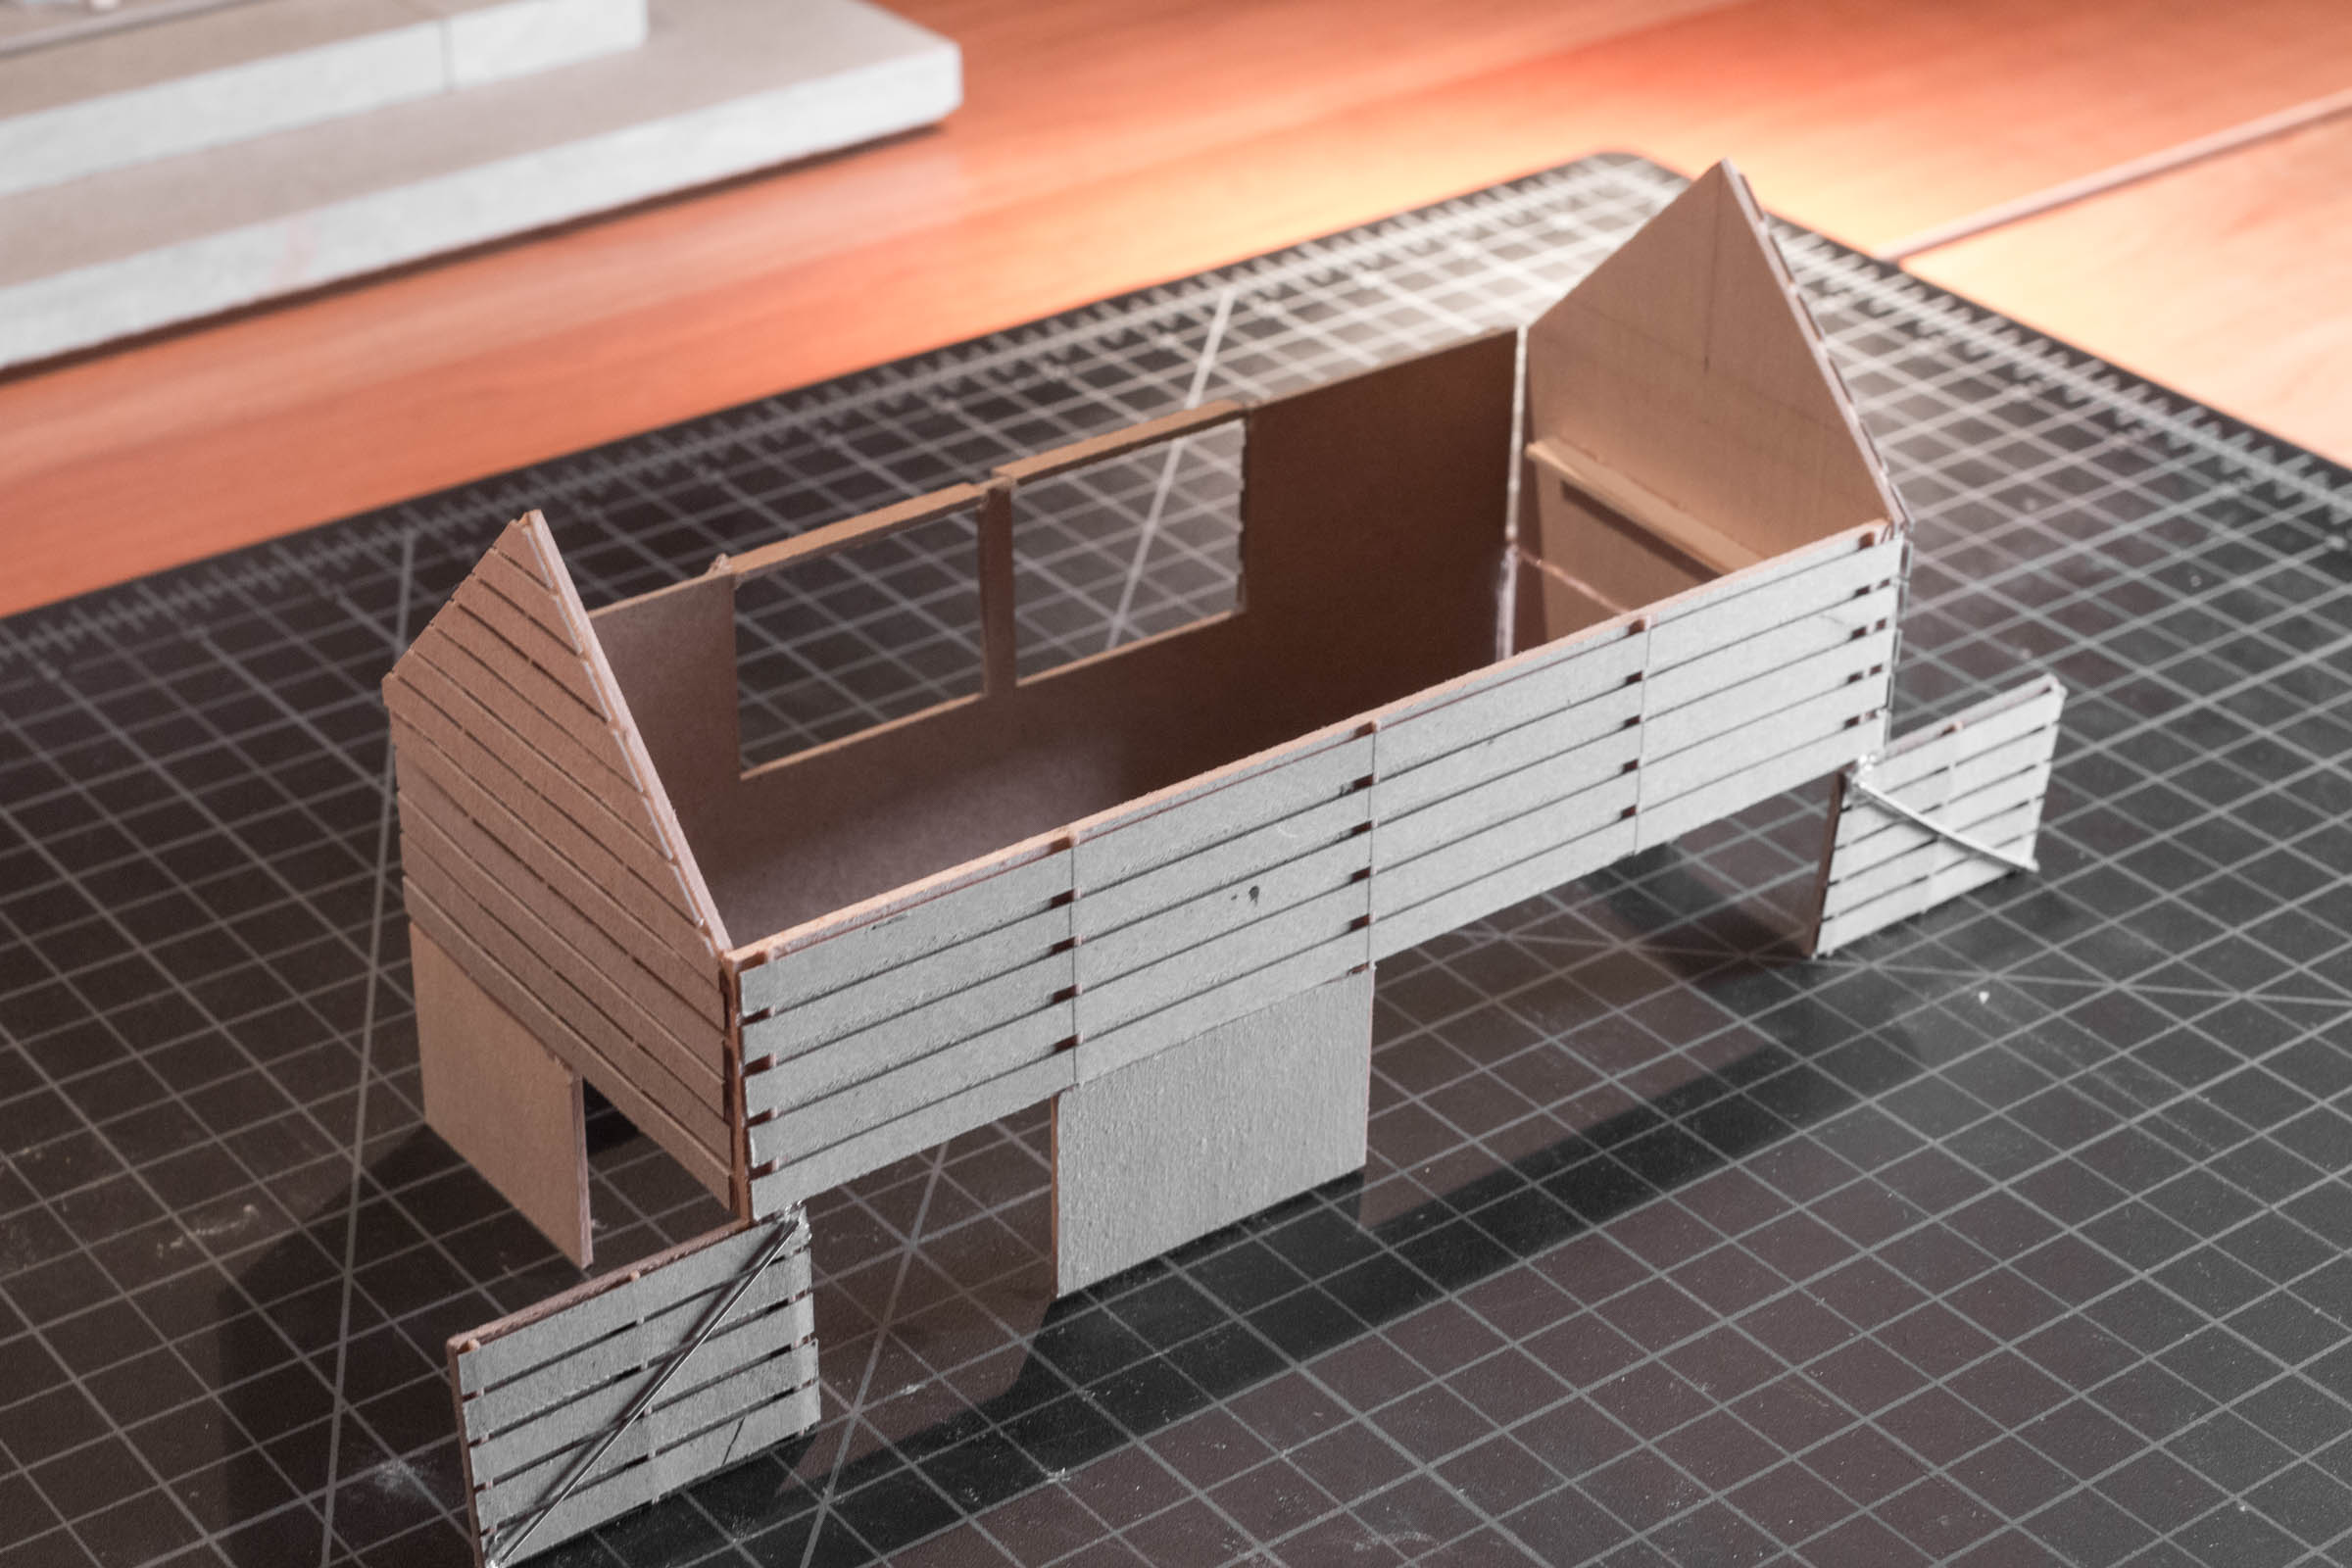
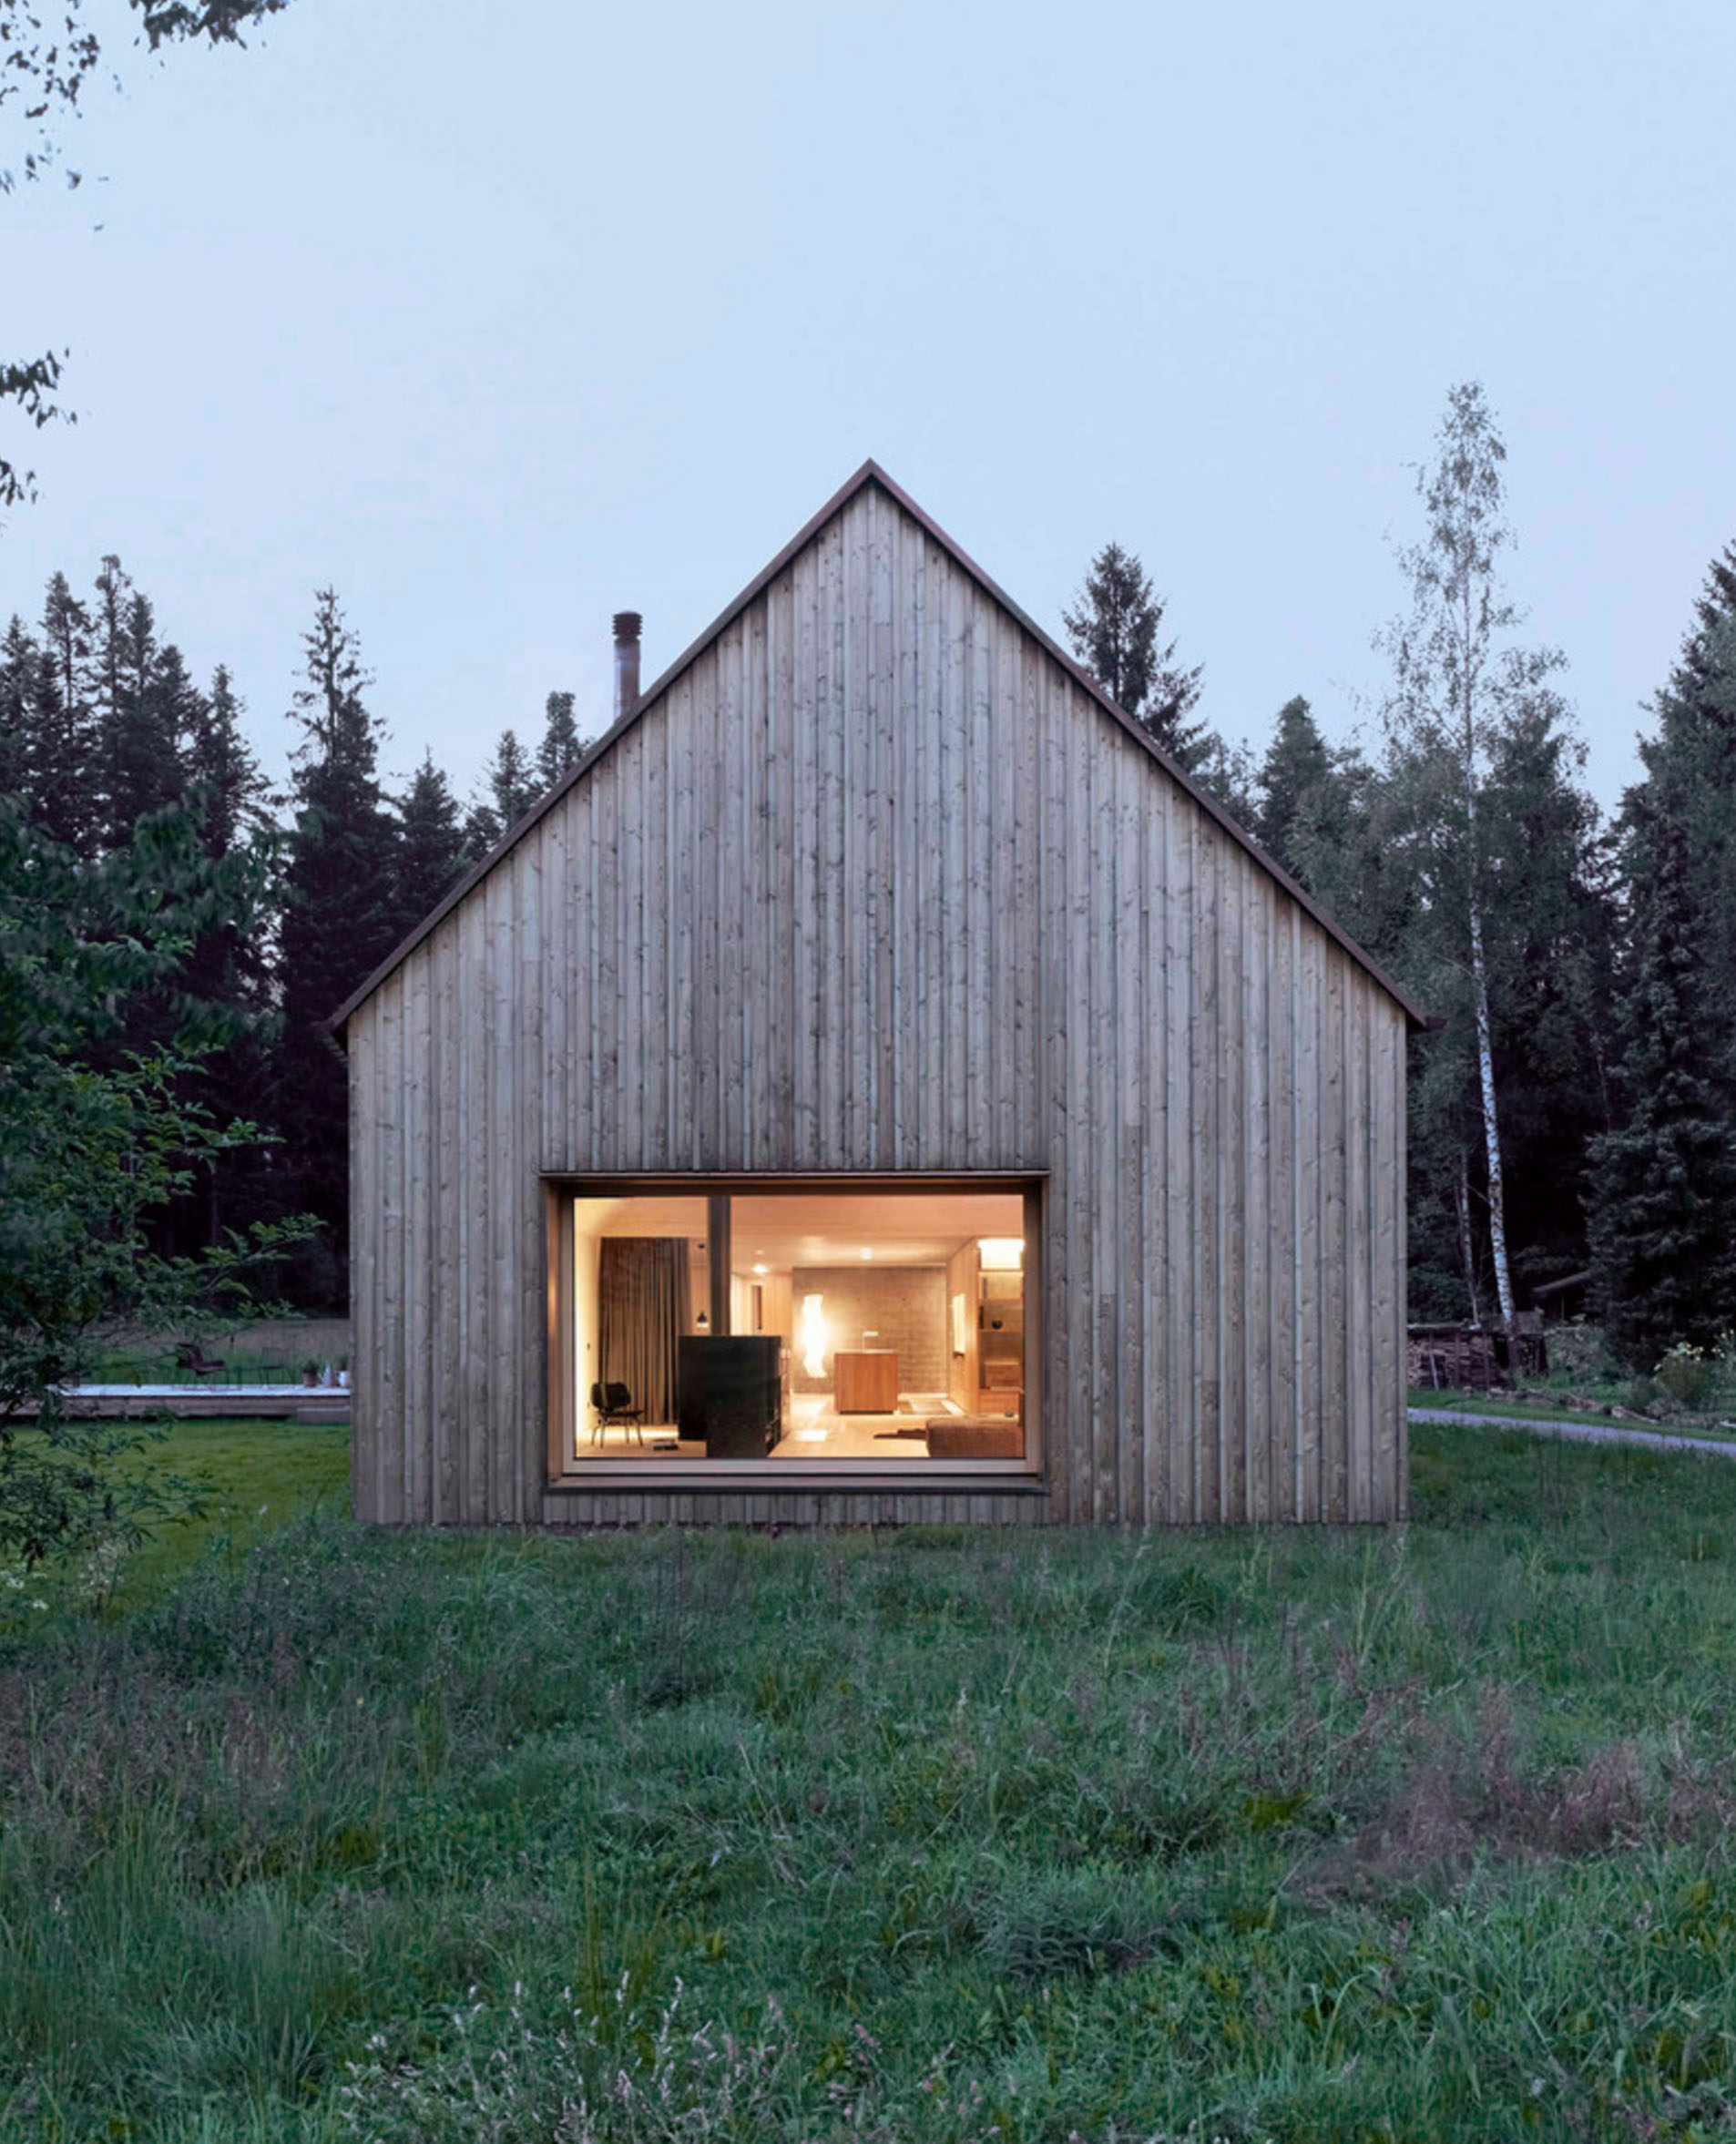
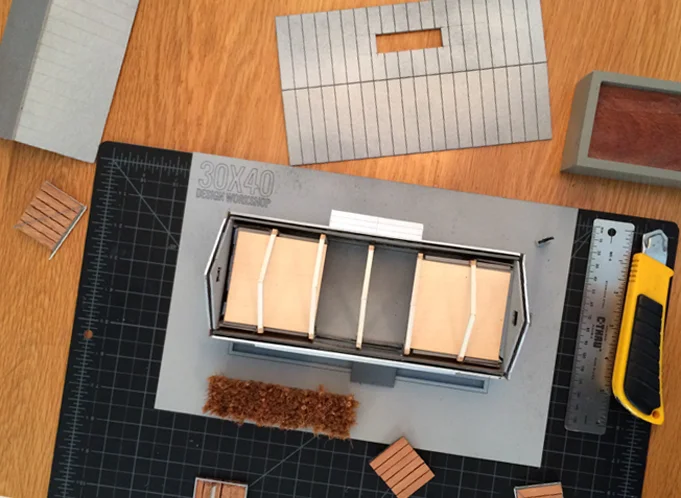
A concept shouldn’t be rigorous; the more malleable it is, the better. In fact, most architecture can’t be reduced to one singular concept diagram rather it’s informed by many concepts working in concert. There may be organizational concepts, material concepts, functional, or structural or formal concepts. Don’t fret if your design idea isn’t reducible to a single elegant black stroke on the page. It’s best to illustrate concept development with a real project as I said. So, we’ll use our Squid Cove Residence as an example. Before we can develop the concept, we have to first understand the practical constraints.

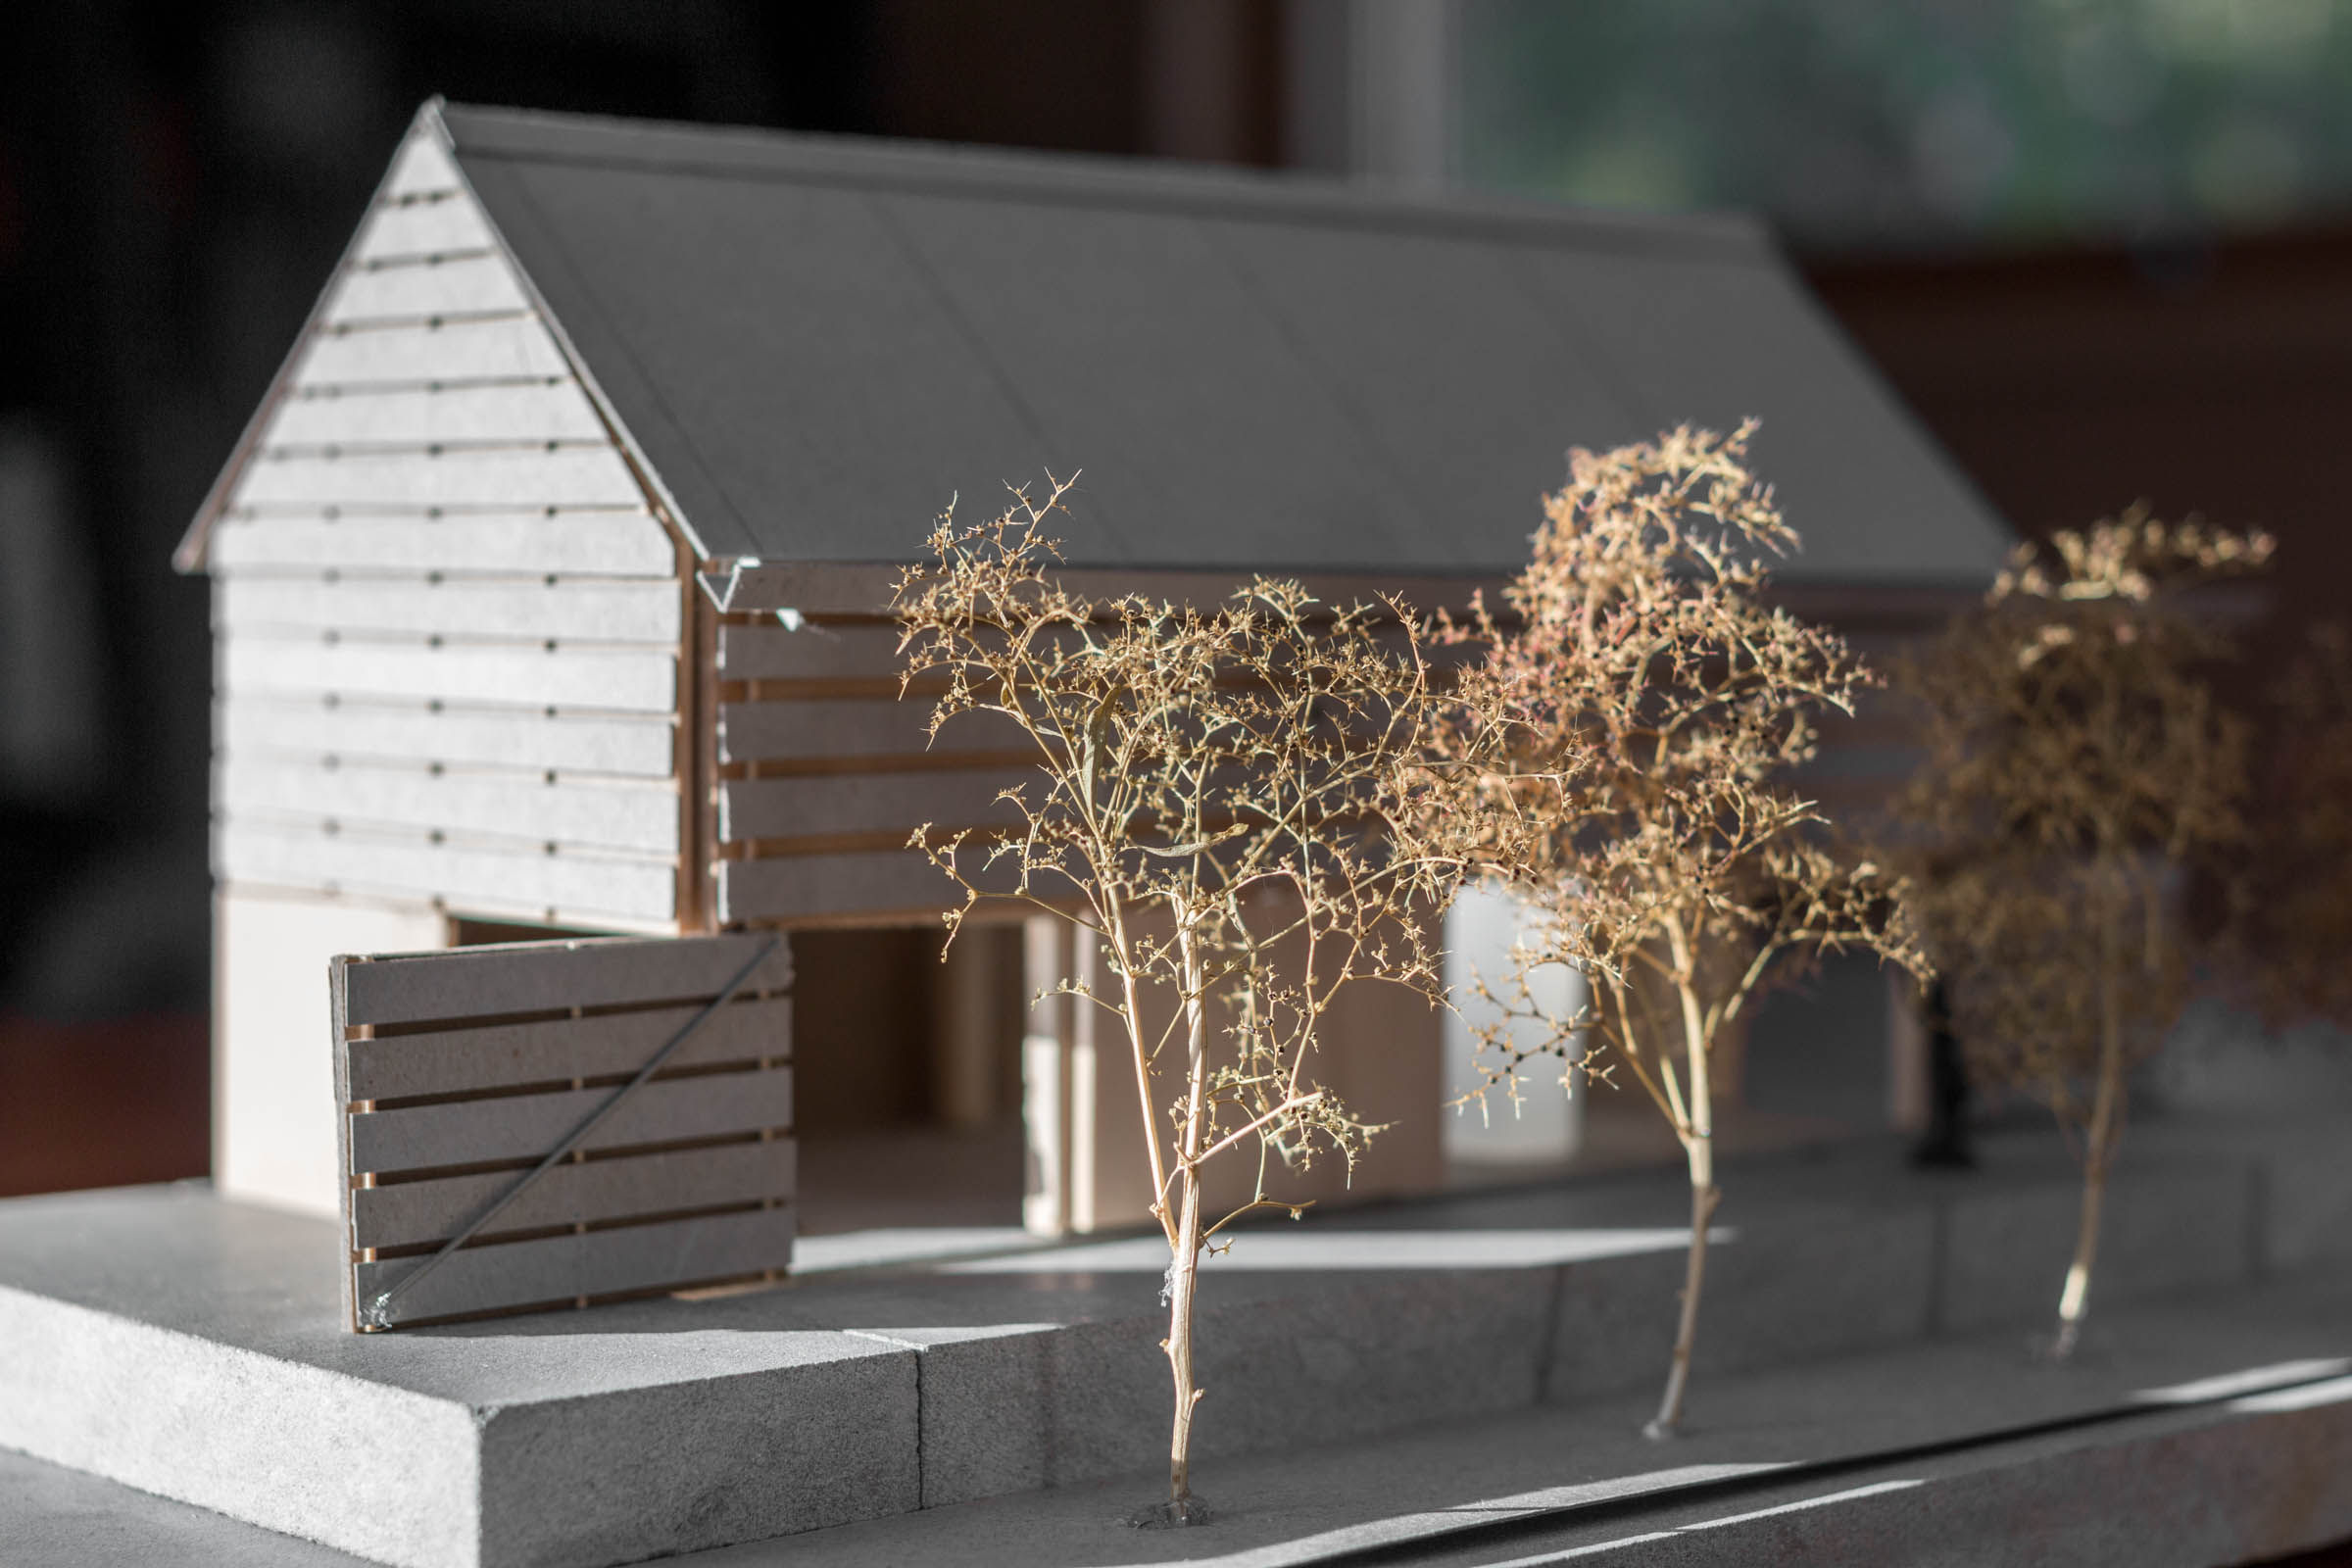
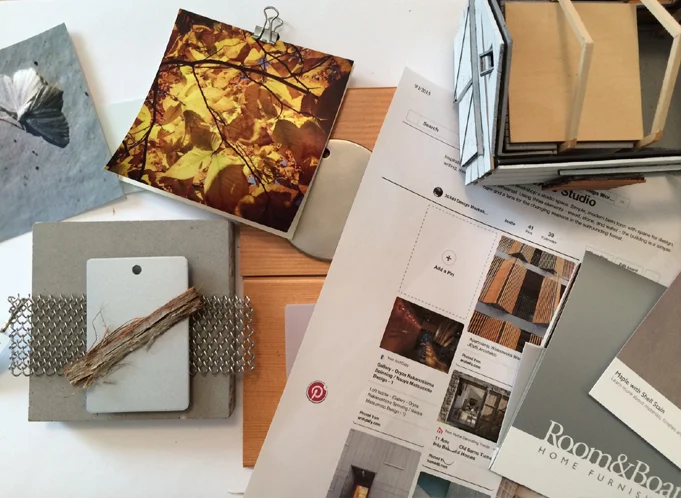
My design process begins only after gathering and assessing all the given parameters for a project. Now, this primarily consists of three types of information. There’s information derived from the site - things like: local climate, the prevailing winds, the solar aspect, vegetation, neighboring structures, the site’s history, and any unique liabilities or opportunities. The site of course also comes along with legal frameworks for development, which describe where and what we can and can’t build. The second type of information we’ll gather is from the client. Every client has a set of cultural beliefs and preconceptions, preferences and agendas. Of course, we’ll want to determine their budget, and understand the personality traits and organizational politics which might also shape the design. The client and the building type together determine what architects call, “the program” which is essentially a detailed accounting of all the spaces the building will contain.

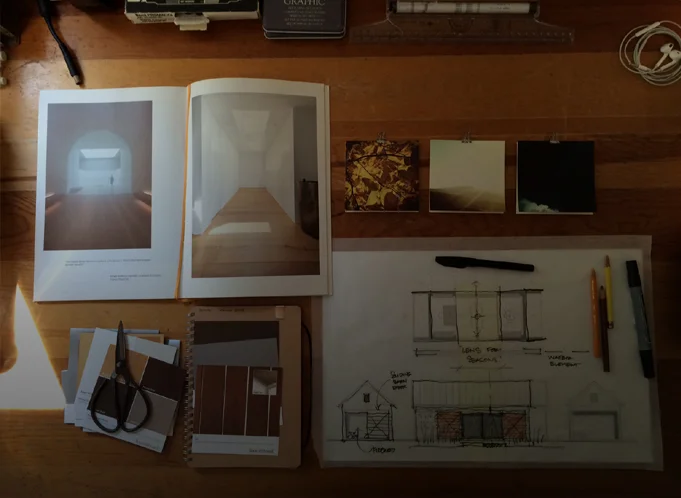
And, the third type of information I gather is related to the building typology – is it a museum, a home…or a school for example? To learn about a building typology we often conduct an analysis of notable or relevant historical precedents. We want to know the essential problems these types of structures grapple with. Understanding the history of the archetype allows us to approach a problem from a fresh perspective. All of this is necessary information that we collect for every project. This inventory can also serve as the progenitor for the design concept – our seed idea. Rather than shunting creativity, these constraints often incite the creative process.

As with a good film, the setting, the characters, the cinematography, and the plot all conspire to make it what it is. It’s the experience you’ll recall rather than the concept per se. Sure, the concept sets the film in motion and it’s the starting point for all that follows. But this concept – the one or two-line description – can’t possible capture the richness and depth of the finished film…or in our case the architecture. Yet without it, the work is unfulfilling and so it should be clear that the concept is necessary for all our work as architects.

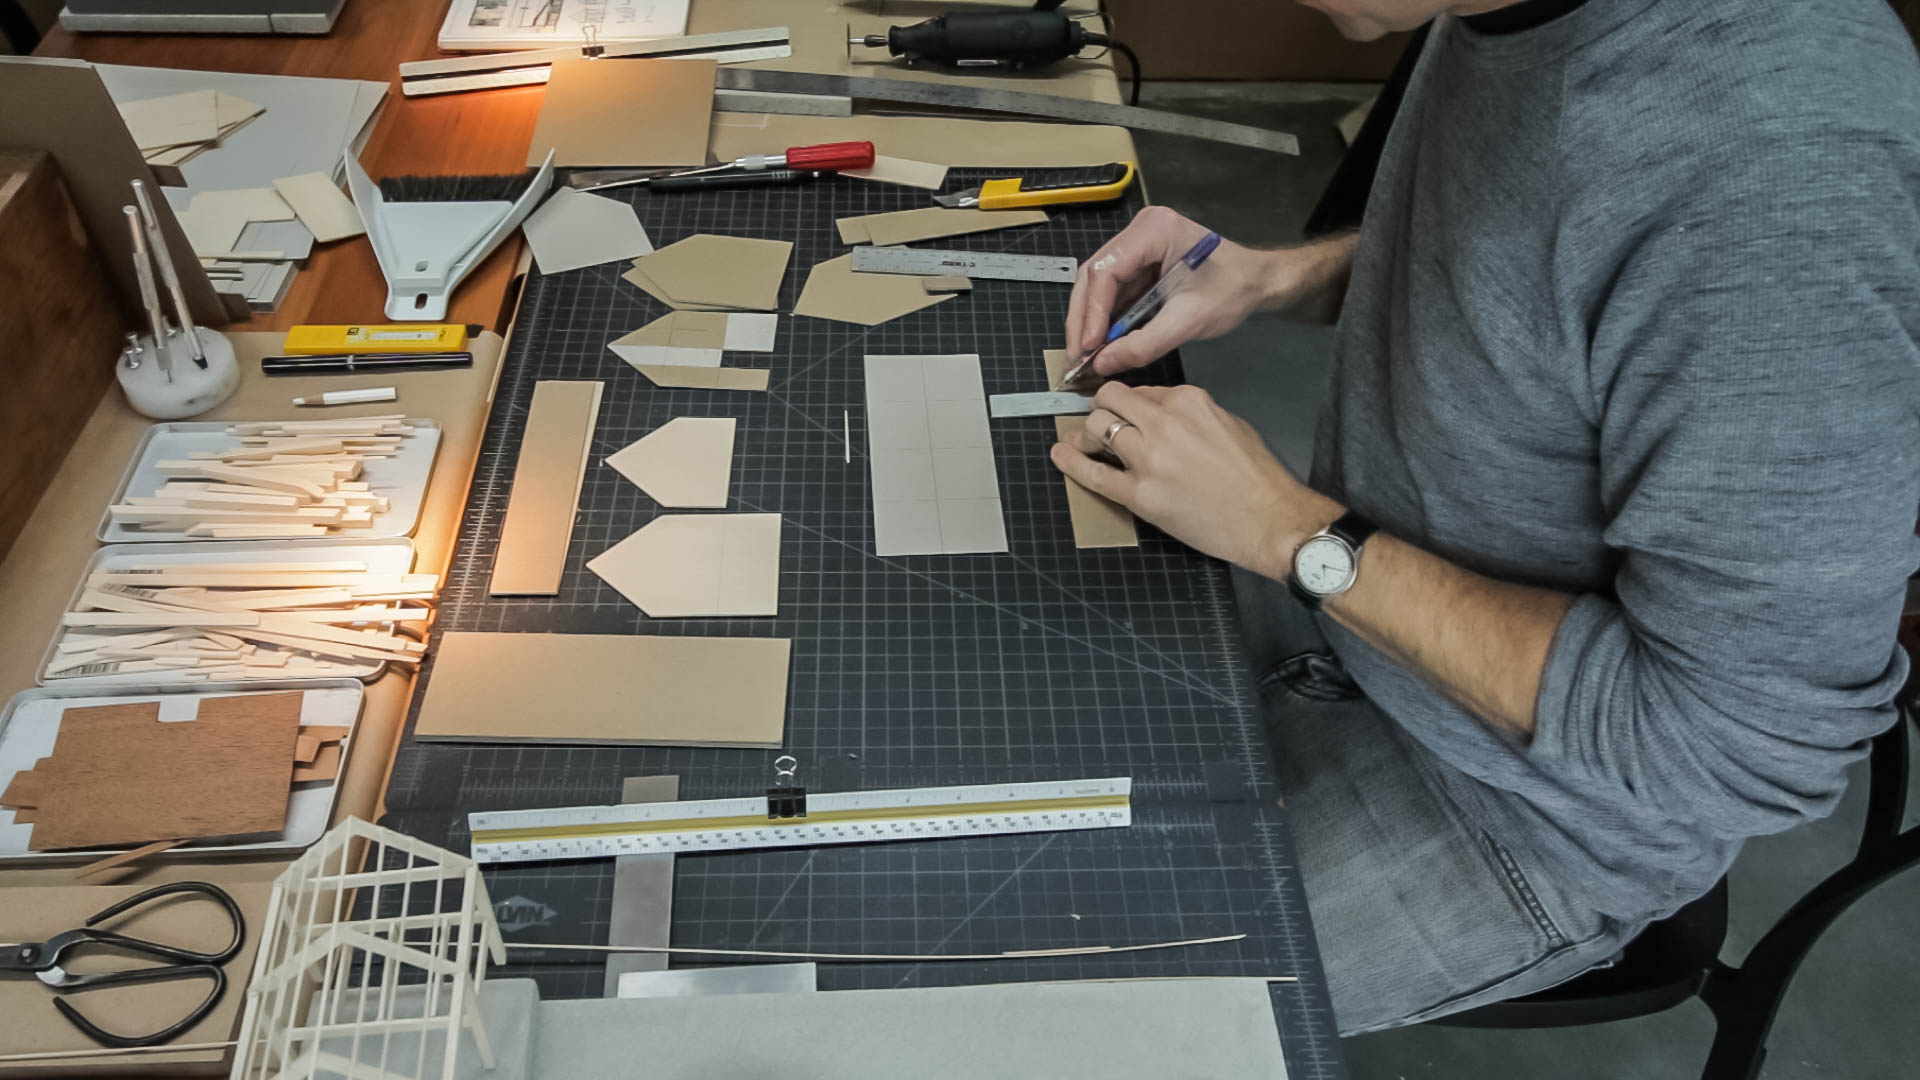
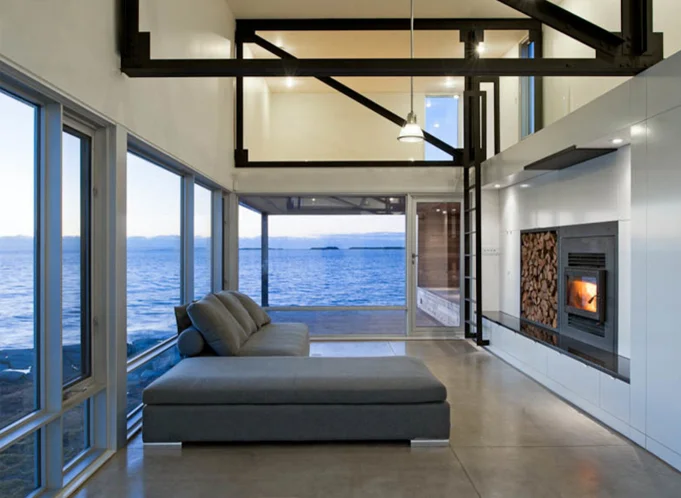
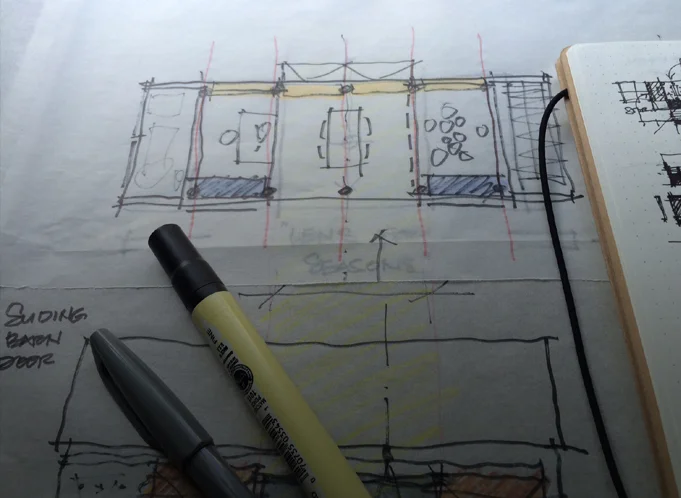
Be sure to watch the video for an inside look at how I craft an abstract idea into a home.

Exterior Lighting Concepts

There are two fundamental points to understand about outdoor lighting. The first is that we actually require much less light in outdoor living situations than indoors, which means the overall lighting can generally be more theatrical and less focused on tasks. 

The second is that in lower ambient light situations, we actually prefer lower color temperature light (warmer); it’s actually visually more comfortable. Whether it’s our primal draw to the flickering flame of fire or the fact that warm light renders the skin so naturally, our outdoor design objective is to aim for low, warmly toned lighting levels.

In this video we'll review the general concepts pros think about when considering how to light outdoor spaces. Specific topics covered are:

  1. The Lantern Effect - using a structure's glazed walls to provide ambient light to nearby exterior spaces.
  2. Layering of light - ambient, task and accent light tips.
  3. Path lighting
  4. Color (and) temperature
  5. Object or sentinel lighting
  6. Fire
  7. Wall washing
  8. Dynamic range and dimming
  9. Uplighting
  10. Light pollution

Simplicity - An Architectural Manifesto

A short musing on simplicity; illustrated with residential architecture. Simplicity builds no more than necessary. Simplicity makes room for living rather than things. Simplicity is rational. Simplicity values craft... and material. Simplicity rejects excess. Simplicity invites reflection. Simplicity appears effortless. Simplicity is efficient. Simplicity lends small gestures... great importance.

Translucency (An Architect's Guide)

“Light is to architecture what sound is to music.” (Steven Holl) At the two ends of the spectrum of light control and transmission stand transparency and opacity. Translucency inhabits the broad middle ground between those two. The word “translucent” is derived from the Latin “trans“ ("through") and “lucere“ ("to shine"). Translucent surfaces permit the passage of light while visually obscuring what’s behind it. Historical examples of the use of translucency in architecture abound: the poetic sliced alabaster window above the main altar in St. Peter’s Basilica in Rome, the shoji (screens) at the Katsura Villa in Kyoto, the stained glass rose windows at the great Chartres Cathedral in France. And there are countless others.

Translucency promotes ambiguity, a sense of mystery and a complexity that allows for multiple understandings of what a space can be. In the video I review examples which illustrate the power of this ambiguity as well as the practical things you need to know when employing translucent materials in your project.

Other topics covered: - How iron impacts the color of glass - Walls, floors, stairs - Material properties and options - Using transparency to imbue a design with meaning (be sure to catch the last project in the video)

How a site can shape a home

Good design is the result of strong, simple concepts that give meaning to a home's shape, form and materials. When you look to your site for inspiration, these ideas often arise very naturally. A site is composed of many things: topography, plants, trees, regional and local climate, surrounding structures, water bodies and zoning and code regulations. Each site has very specific solar orientations, views (good and bad) and often a very explicit character. Each one of these areas is an opportunity to generate a meaningful conceptual approach for your home design — a way to devise its shape, layout, form and materials. In this video I discuss the strategies architects use to find design inspiration and derive meaningful architecture from a home's site.

Designing a Long Kitchen Island

In this video I discuss design considerations for extra-long kitchen islands. We dig in to the benefits: added prep, seating, counter and storage space - among others. I also highlight special considerations: traffic flow, seams and more you'll want to pay attention to when designing a long island. As our kitchens have become more and more connected to our living spaces, they’ve changed from being solely utilitarian to being social gathering hubs. The island is often a central player in having a whole host of functions now, and the longer it is, the more function you can pack into it.

Typical kitchen islands range between 7 and 10 feet; the long islands in this video begin at 12 feet and they have definite advantages; however, they're not without a few special planning challenges.

Specifics covered: - Circulation - Clearances - Flexibility - Focus - Function - Spatial definition - Seating + dining - Materials

Modern Barn Doors

In this video we continue our look at the studio project as we construct and install our modern barn doors. Want the details? Download here

Materials: aluminum tube subframe, vertical wood intermediate supports, Hardiepanel siding, barn door track and accessories. Alum. frame fabrication by: Lyman Morse

Studio Project: Plywood (as a wall finish)

My design studio acts a lab for experimentation, in this video I discuss lessons learned from installing plywood as a finished wall surface. The four main discussion points covered are:

1) Material thickness: 1/2" - 3/4" typical range. NOTE: if you're using sprayed foam insulation in your walls, the plywood covering must act as an ignition barrier for the foam - thickness will be critical. Thickness also affects: translation of framing inconsistencies to the finished surface, stability and price.

2) Panel cores and veneer faces. Steer clear of the Chinese Plywoods. Choose panels from the same lot and age if possible. Veneer plywood has a front and back side; the less banded side is the finished face. Take care when cutting to avoid material blow-out.

3) Attachment. Concealed versus exposed fastener. I recommend a concealed clip as well as a tip for aligning the finished face of the panels (it's a special fastener).

4) Finishing. Determine the project goals first, then select the finish. Mine were: - Low sheen - Preserve natural wood appearance - Easy to apply - Non-yellowing

I review oil-based and water-based finishes, Danish oil, spar varnish, paste wax, natural soap (Hans Wenger furniture), and finally WOCA oil + lye.

For a broader material discussion please see the video for part 1...

As always I welcome questions and feedback; you can reach me at: eric (at) thirtybyforty.com

Studio Project: Concrete Slab (as finished floor)

In this video I discuss five important considerations with a concrete slab that will act as a finished floor:

  1. Installer / subcontractor

  2. Color

  3. Consistency

  4. Control joints

  5. Reinforcing

You might also consider building a mock-up especially for large floor areas to ensure you’re getting the finish you expect.

I finish the video reviewing progress with a time lapse video of the slab placement and finishing.

Framing is up next...

Flat roofs and snow: 5 myths (busted)

In this video I dispel 5 common myths surrounding the use of flat roofs in snowy climates. The very notion of shelter is linked to the image of a roof above our heads. And while the elements of snow and rain may shape our living habits, advances in material technology and application now afford us a broad range of choice when it comes to the shape of the roofs over our heads. Contrary to popular belief, even those of us living in extremely snowy, wet environments are able to live beneath a flat roof. 


Designing a Small Studio - Lighting Plan (Part 7)

In this video I discuss the development of the lighting plan for our small studio project. I begin by discussed the (3) elements every professional lighting plan includes: ambient, task, & accent lights. I also describe a useful guideline for figuring out the amount of light required in a space as well as how I've applied the building concept to the lighting plan.I end the video by discussing a simple affordable fixture, why I chose not to use exposed conduit in spite of the aesthetics, and how to think about the location of your electrical panel (stay until the end for a cool little trick I employed).

Thanks for watching...

Four Homes Built on Boundaries

In this video I explore four homes built on boundaries. It's a look at how a home can challenge the natural environment and occupy the boundary between architectural convention and stunning natural beauty. When confronted with a design brief and an undeveloped site, architects often look to the edges of that site for inspiration and meaningful architectural solutions. These boundaries, both real and imagined, are exciting places to build. The boundary often gives rise to the form of the building, its materials and even how it’s structured.

Designing a Small Studio - Selecting Materials (Part 6)

Materials can be used to convey the underlying concept of a building or in some cases they can function as the entire concept (Peter Zumthor is an excellent example). In this video I detail the process I used for connecting the "lens for the seasons" and "barn" concepts to an attitude about building materials.

I begin with abstract imagery, then build Pinterest boards with inspirational images, then I gather and collage materials. Instead of directly quoting the Pinterest images I draw upon their essential ideas to develop the material palette for the building.

The concepts are hard to compress into a short video (my apologies) if you stay tuned to the end I talk about a quick tip for securing free material samples I recently discovered.

How to Borrow Light

In this video I discuss natural daylighting strategies anyone can take advantage of. I begin with a short history lesson which describes how daylighting actually shaped the largest of cities in the US. In 1915 the 38-story Equitable Building in New York City was the largest office building in the world. Containing 1.2 million square feet of office space, it consumed nearly every available square foot of its diminutive lot and cast an equally large shadow on its neighborhood in lower Manhattan. Its construction inspired the enactment of the city’s 1916 Zoning Resolution, which was designed to preserve access to light and air at the street level. The resolution prescribed specific limitations for a building’s envelope — its outer walls — and would go on to shape the stepped forms that you see today on many of the iconic towers in the city.

This underscores the importance that access to daylight had in shaping even the largest of cities, the individual buildings that make up those cities and, more broadly, sensible building design. With an increasing focus on sustainable design practices, the smart use of natural daylight in our homes is no longer a luxury — it has become a necessity. At the heart of any good daylighting strategy is a concept of “borrowed” light: the capture of light falling on the exterior of a home and transporting it to the spaces where it’s needed.

Designing a Small Studio - Building a Study Model (Part 5)

In this video I discuss the benefits of building a small scale, physical study model using the reference project I've been designing: my studio building. Computer models are excellent tools, but simple cardboard models allow real-time manipulation of forms and the development of ideas that don't always present themselves when working in a digital environment.

For me, model building has always been a part of the design process. They help: 1) To study building forms and spaces. 2) For real-time solar studies. 3) With envisioning scale of elements as they relate to the human form. 4) Allow one to explore a variety of material and color options, quickly and easily. 5) One can quickly flesh out ideas in much the same way a hand sketch might, however, model construction uniquely forces you to make decisions about building elements that sketching doesn't.

Future videos will describe sketchy model building hacks and tactics to more quickly build a useful avatar for your architectural project.

Designing a Small Studio - Revisiting and Integrating the Concept (Part 4)

In this video I overlay the plan diagrams on the site plan which reveals a clear favorite. I go on to describe 6 tactics I use to turn a simple diagram into a meaningful floor plan. They are:

1) Study a building precedent (in this case a barn).

2) Develop an ordering system (grid, column layout, geometry, functional). Once it's established you can decide when to "disobey" the rules.

3) Create zones: entry, circulation, storage, living. Divide public and private spaces.

4) Analyze adjacencies - group common functions and support spaces. Make sure their orientation makes sense for the plan location.

5) Refer back to the concept. In this case the "lens for the seasons" concept reinforced the barn plan typology and spurred on new ideas.

6) Create layers of meaning. Begin by thinking about the way we experience space or places and look for opportunities for the building to enhance daily life.

The next video explores the use of small physical study models for solar, material, and proportioning studies.

Designing a Small Studio - Plan Diagrams (Part 3)

Part 3 in a multi-part video series where I dissect the design process for a small studio space. In this video I sketch out the four basic plan ideas I generated for the studio and describe the benefits and liabilities of each. Designing a floor plan begins with an understanding of the site, where the sun is, the winds, the approach, public and private areas and a precise listing of the spaces to be incorporated.

A well-designed floor plan synthesizes all of this information into a simple, logical connection of rooms. The process I describe works for buildings that are extremely simple - such as my studio - as well as very complex structures.