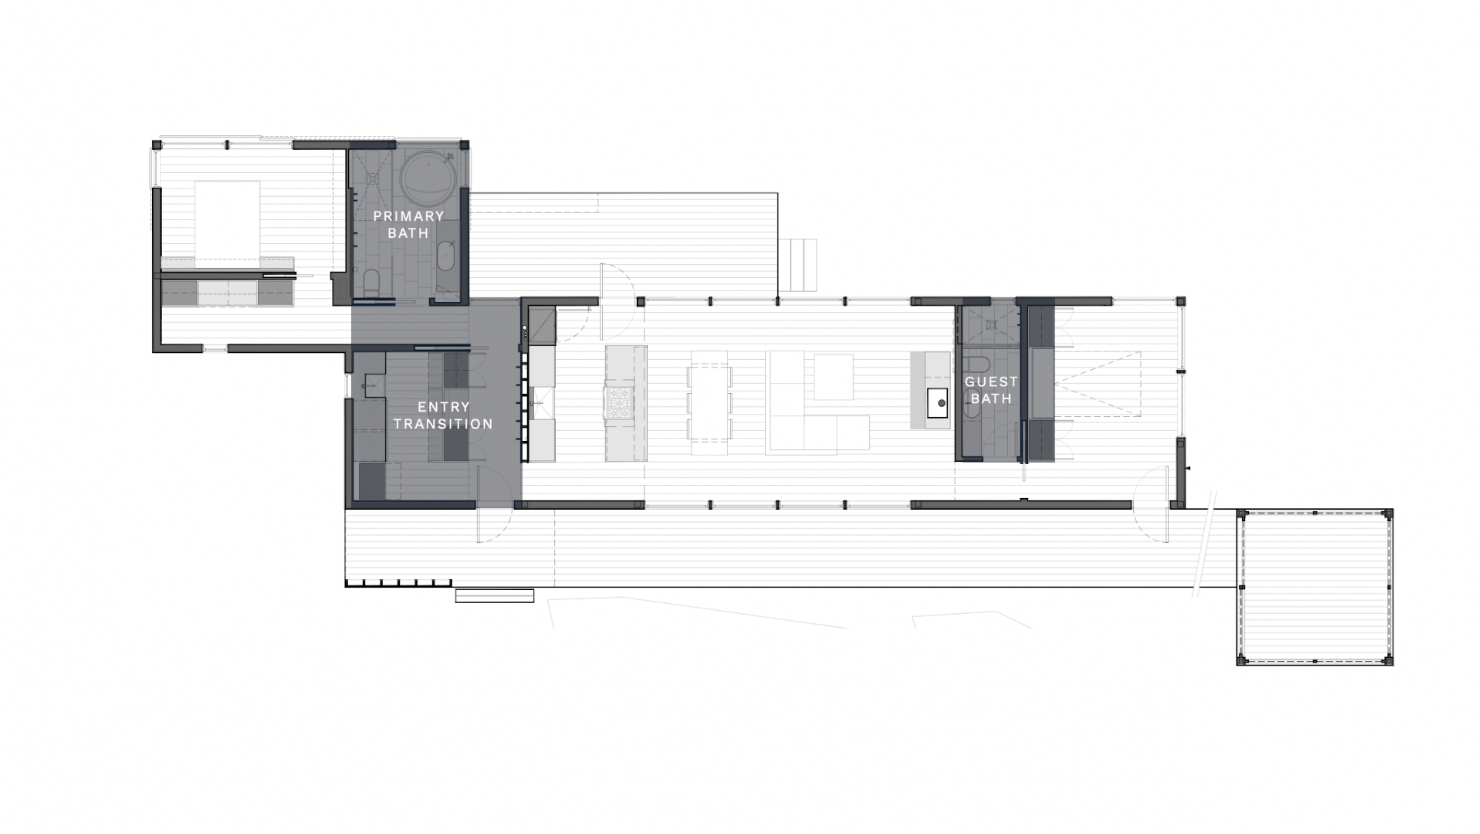
One of my favorite design devices for saving space in a floor plan are pocket doors. You either love or hate them depending on your personal experience. That's mostly due to hardware. And when it comes to pocket door hardware, there's a big difference between the set you can buy at the big box stores and specification-grade hardware that design professionals use.
In the design of my own home, I chose pocket door hardware based on what I could afford at the time (which wasn’t much). And now, every trip to my bedroom serves as a reminder of why I don’t choose things on price alone. As much as I like them for clean, modern spaces, pocket doors aren’t right for every situation.
When to use:
Small Spaces: Ideal for bathrooms, closets, and tight areas where swing space is limited.
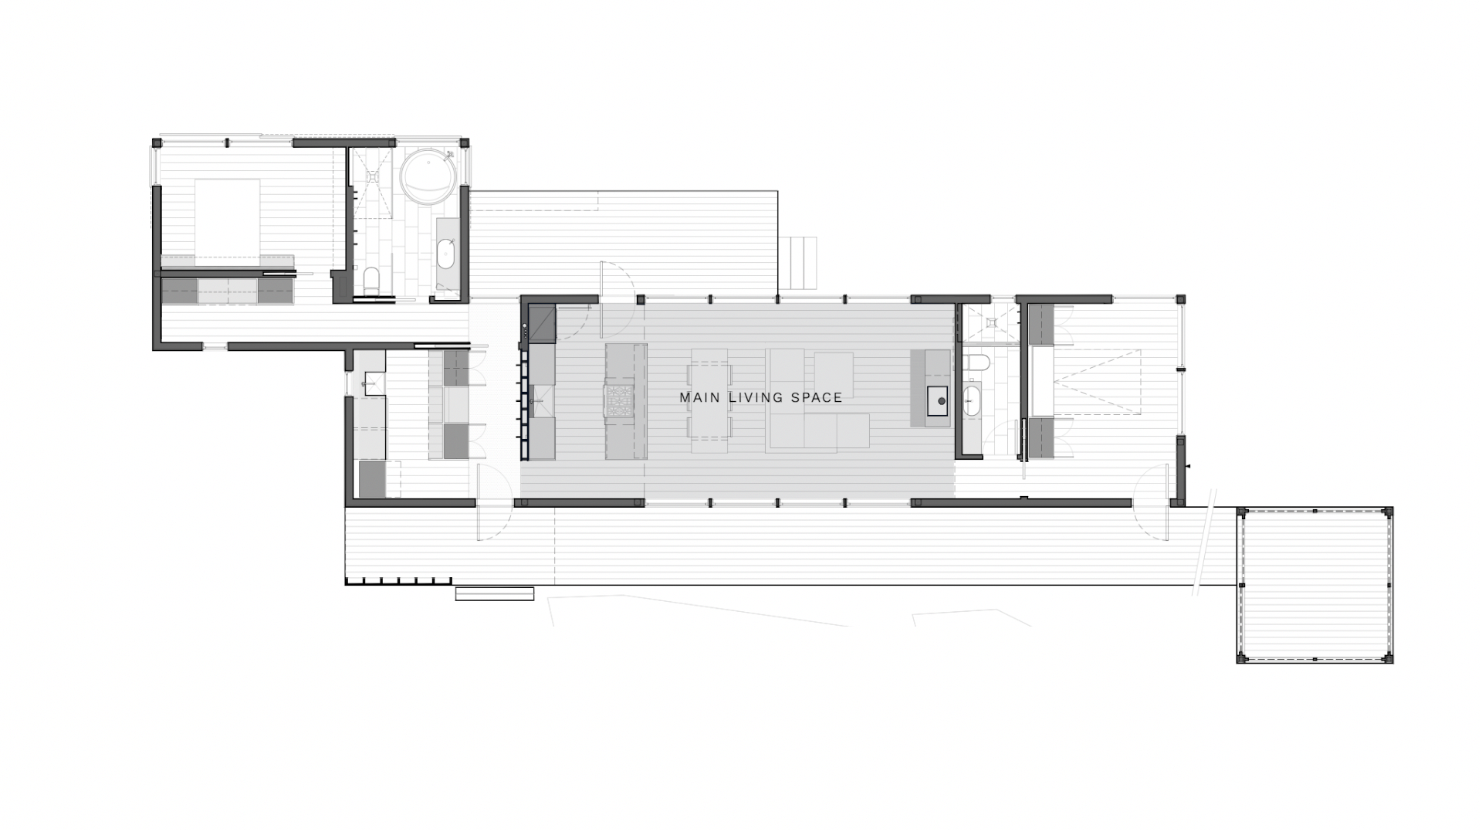
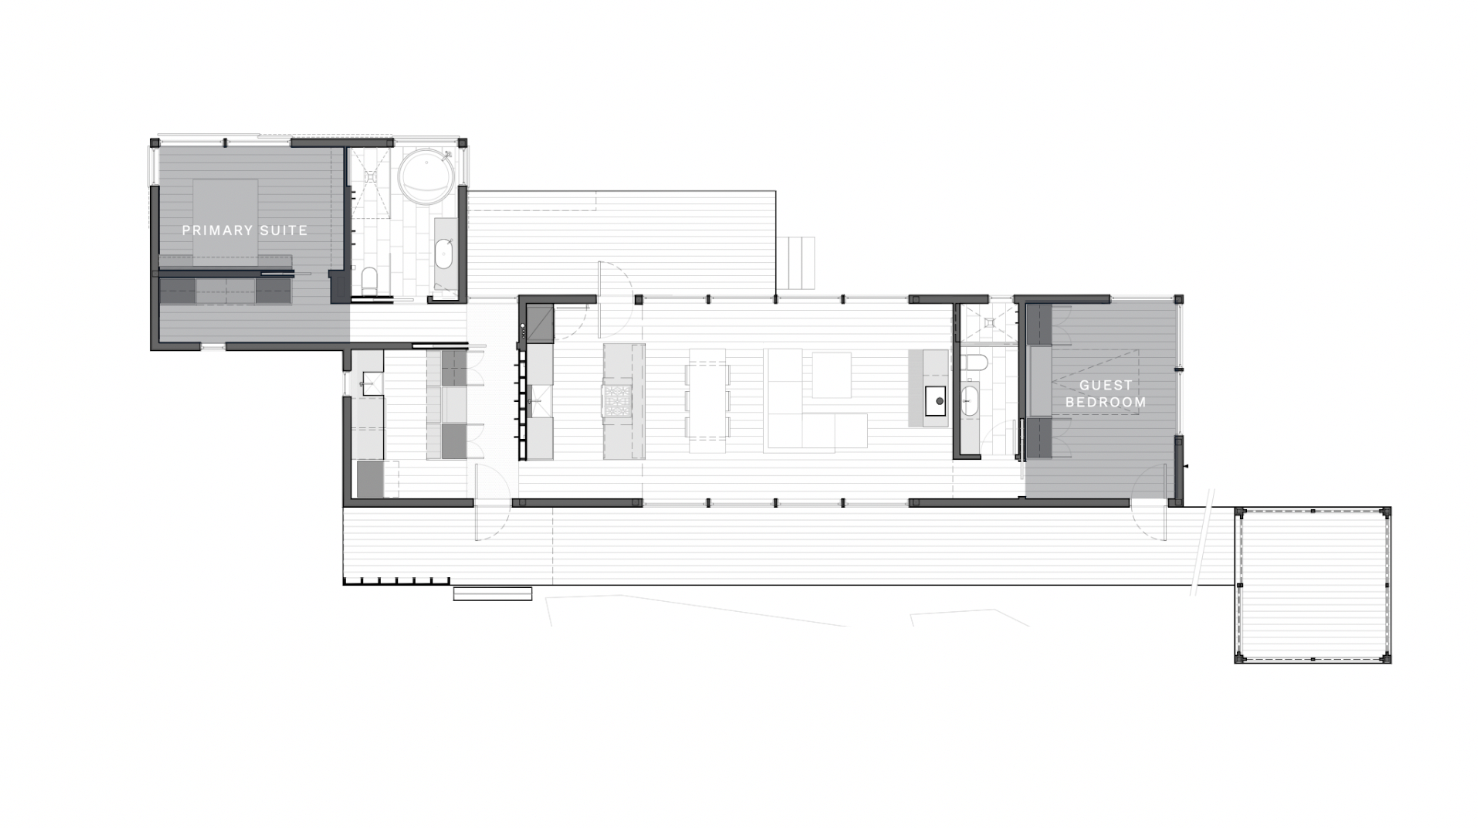
Flexible Designs: transform a room from closed + private to open + connected.
Changing Privacy Needs: Useful in rooms where occasional privacy + limited sound control is needed, such as home offices or guest rooms.
When NOT to use:
Renovations: When retrofitting a space, pocket doors can be difficult to work into walls that contain plumbing, electrical wiring, or load-bearing elements that can’t be moved.
Heavy Doors: less suitable for very large openings because slab weight make them more difficult to operate.
Accessibility Limitations: traditional pocket doors are more difficult to operate for those with limited mobility.
Frequent Use Areas: Less ideal for high-traffic areas where doors are constantly opened and closed.
Acoustical separation: When a high degree of sound control is needed, pocket doors shouldn’t be considered as they’re impossible to seal.
They do require some extra planning and consideration, this is a checklist I work through when designing and specifying pocket doors:
Wall Framing:
Field-build the pocket. Many of the frustrations of pocket doors come from using a pre-assembled or pocket door kits fabricated with inexpensive materials. Site-building the pocket allows the best results. I prefer to frame it using LSL studs + plywood which eliminate shrinkage and warping you typically see with dimensional framing. To secure the plywood, you can either fasten it above the ceiling plane (per the detail shown) and below the finished floor or be sure to use pocket screws to ensure you have a completely flat surface to install your wall finish over.
Pro Tip: Another quick option is to use 1 3/8” solid core doors for the pocket faces. This saves you the framing work and makes for an excellent flat attachment surface. Works great for standard size pockets but not as well for large or custom openings.2X6 Partitions. All interior partitions are drawn my plans as 2X6 (5 1/2” actual). This reduces the number of interior wall types, easily accommodates basic utility runs (including radon piping) and allows any wall to receive a pocket door now or in the future. Width-wise this fits: the door slab (1.75”), a layer of 3/4” plywood on each side to fasten your wall finish to, the LSL support framing and buffer space for the door to move freely in the pocket.
Pad down the header. In load-bearing walls I always want the header set as high as possible so the GC can build down the pocket with layers of plywood to set the subtrack (see below) at the desired height.
Door slab:
7-ply architectural (1.75”), solid core, flush doors are my baseline standard. I generally spec paint grade (with a Poplar or Birch veneer) as I want the door to marry seamlessly with the room it’s dividing. When cost or weight are an issue, you may opt for a 5-ply architectural instead, but I find that the heavier 7-ply slab allows the hardware to function more smoothly and is a tactile indicator of quality. Heavier doors “feel” more luxe. Whatever you choose, just remember to check the weight (architectural solid core doors are VERY HEAVY) and choose hardware accordingly. Here’s a handy calculator.
When scheduling these doors, I always call for an additional 1” of slab width so when the door is closed there’s 1” that remains in the pocket. This helps to minimize sound and light leakage at the pocket side and leaves padding for adjustment and less-than-perfect construction tolerances. Don’t forget to add this to the pocket depth too when you’re drawing the plans!
The hardware you choose will depend on the door size, weight and thickness so I like to calculate that for the largest slab on the project in this step before moving on to specify the hardware. I think it’s easier to select and specify the hardware based on the largest door in the project and keep the details and framing heights the same everywhere.
One additional consideration: how will you finish the door slab if rooms have different color schemes inside vs. outside. My rule (generally): the exterior (hallway/entry side) wall color will dictate the exposed slab edge color for painted slabs and the interior slab face will match the interior room color.
Hardware:
Track Hardware. Hafele make the best pocket door hardware in my opinion. My starting point is usually the Hawa Junior 80/B series. Remember to check the weight of the door slab first! The 80 series is rated for doors weighing up to ~176 pounds. If you’re close to the maxing out the rating, always size up.
Trolley design: High-quality rollers and machined aluminum tracks ensure smooth, silent operation. The combination of the minimal clearance (1/8”) between track and door and, the pivoting trolley design allows the door to be installed and removed at any time.
Soft Close = Happy Home: Built-in soft-close mechanisms and track stops gently slow the door to a stop, eliminating slams and preserving the longevity of your door, the jamb, finishes and hardware.
Adjustable: the real genius of this is the subtrack system (this is the B part of the model number). The subtrack mounts to the framing and the trolley track “clips” into the subtrack after the fact. This means you can remove both the door and the track at any time without opening the wall. Need to adjust the pocket side stop, the soft-close mechanism or spring tension? No problem.
Bottom track + center guide. I don’t love the default Hafele floor guide, it looks cheap and it has too much friction (I find). So, I usually call for an aluminum pin painted black to be set in the floor away from the pocket edge (so you don’t see it) and then call for a 3/8” wide rabbet in the bottom of the door slab to center the slab on the pin.
Options: The Hawa Junior 80 comes in various weight capacities and configurations, including long throw carriers allowing you to find the perfect fit for your specific needs and ceiling or trim finish requirements.
Flush Pulls + Locks.
Accurate Lock + Hardware are my default option. They offer a good selection of rectangular, modern flush pull hardware with both passage and locking mortise sets in all the standard US finishes. I also like that I can choose between an exposed or concealed fastener look depending on the project’s aesthetic needs. The edge pull activates with a button push and auto-resets when the door is closed at the strike jamb. There are many others, of course: Emtek, Halliday and Ballie, FSB.
One tip: confirm with the manufacturer the finish on ALL the components (edge pulls, buttons, thumbturns, locks, etc.) Some of the moving parts on some hardware are only available in brass. The problem is: when you use black hardware - which is quite popular at present - you may be surprised to find to find that the edge hardware is bright brass and not the black you were expecting. Speaking from experience here!
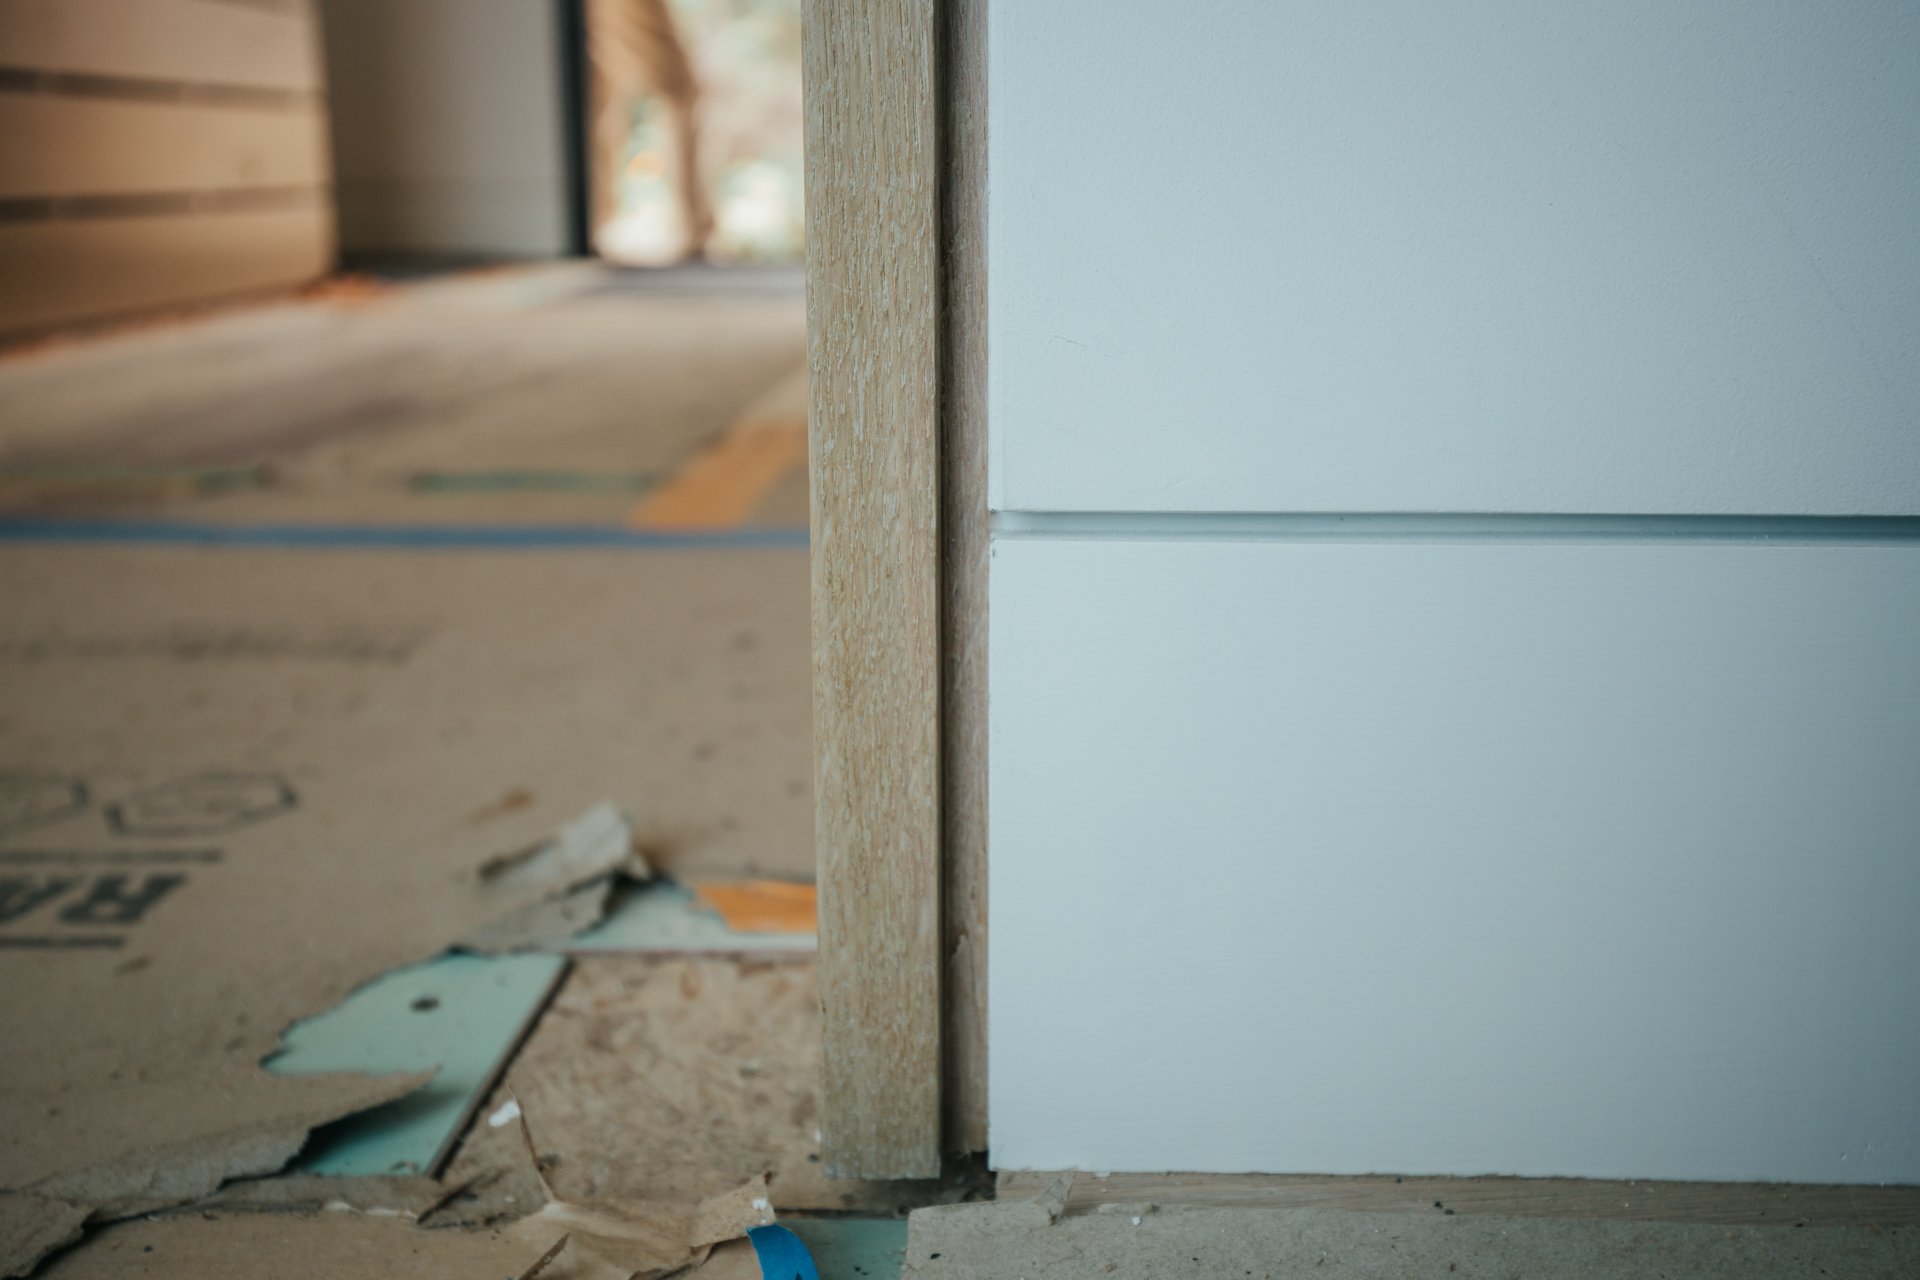
Trim.
A simple trim elevation clearly references the details and helps you the designer to visualize how all the reveals will fit together.
Every project is different but the detail for this project uses reveals milled into a solid wood perimeter trim which is one of my favorites. Here I used a clear finished white oak for trim; if it were painted I’d likely specify poplar.
Remember I said above that I like to keep 1” in the pocket? Well, this means you’ll also need to make the strike jamb and one side of the trim is removable to allow this to happen. I like to use concealed rare earth magnets on the back side of the trim to do this, but you could also use Lamello Tenso clips if you prefer.
As you can tell, all of this requires careful opening preparation; a mock-up really helps to work out the kinks beforehand.
Pay special attention how the strike jamb and head detail interface with the track. With a removable stop on one side, it’s easy to leave an unfilled gap where it transitions from the strike jamb to the head detail, right at the center where the track stops. Mock this up!
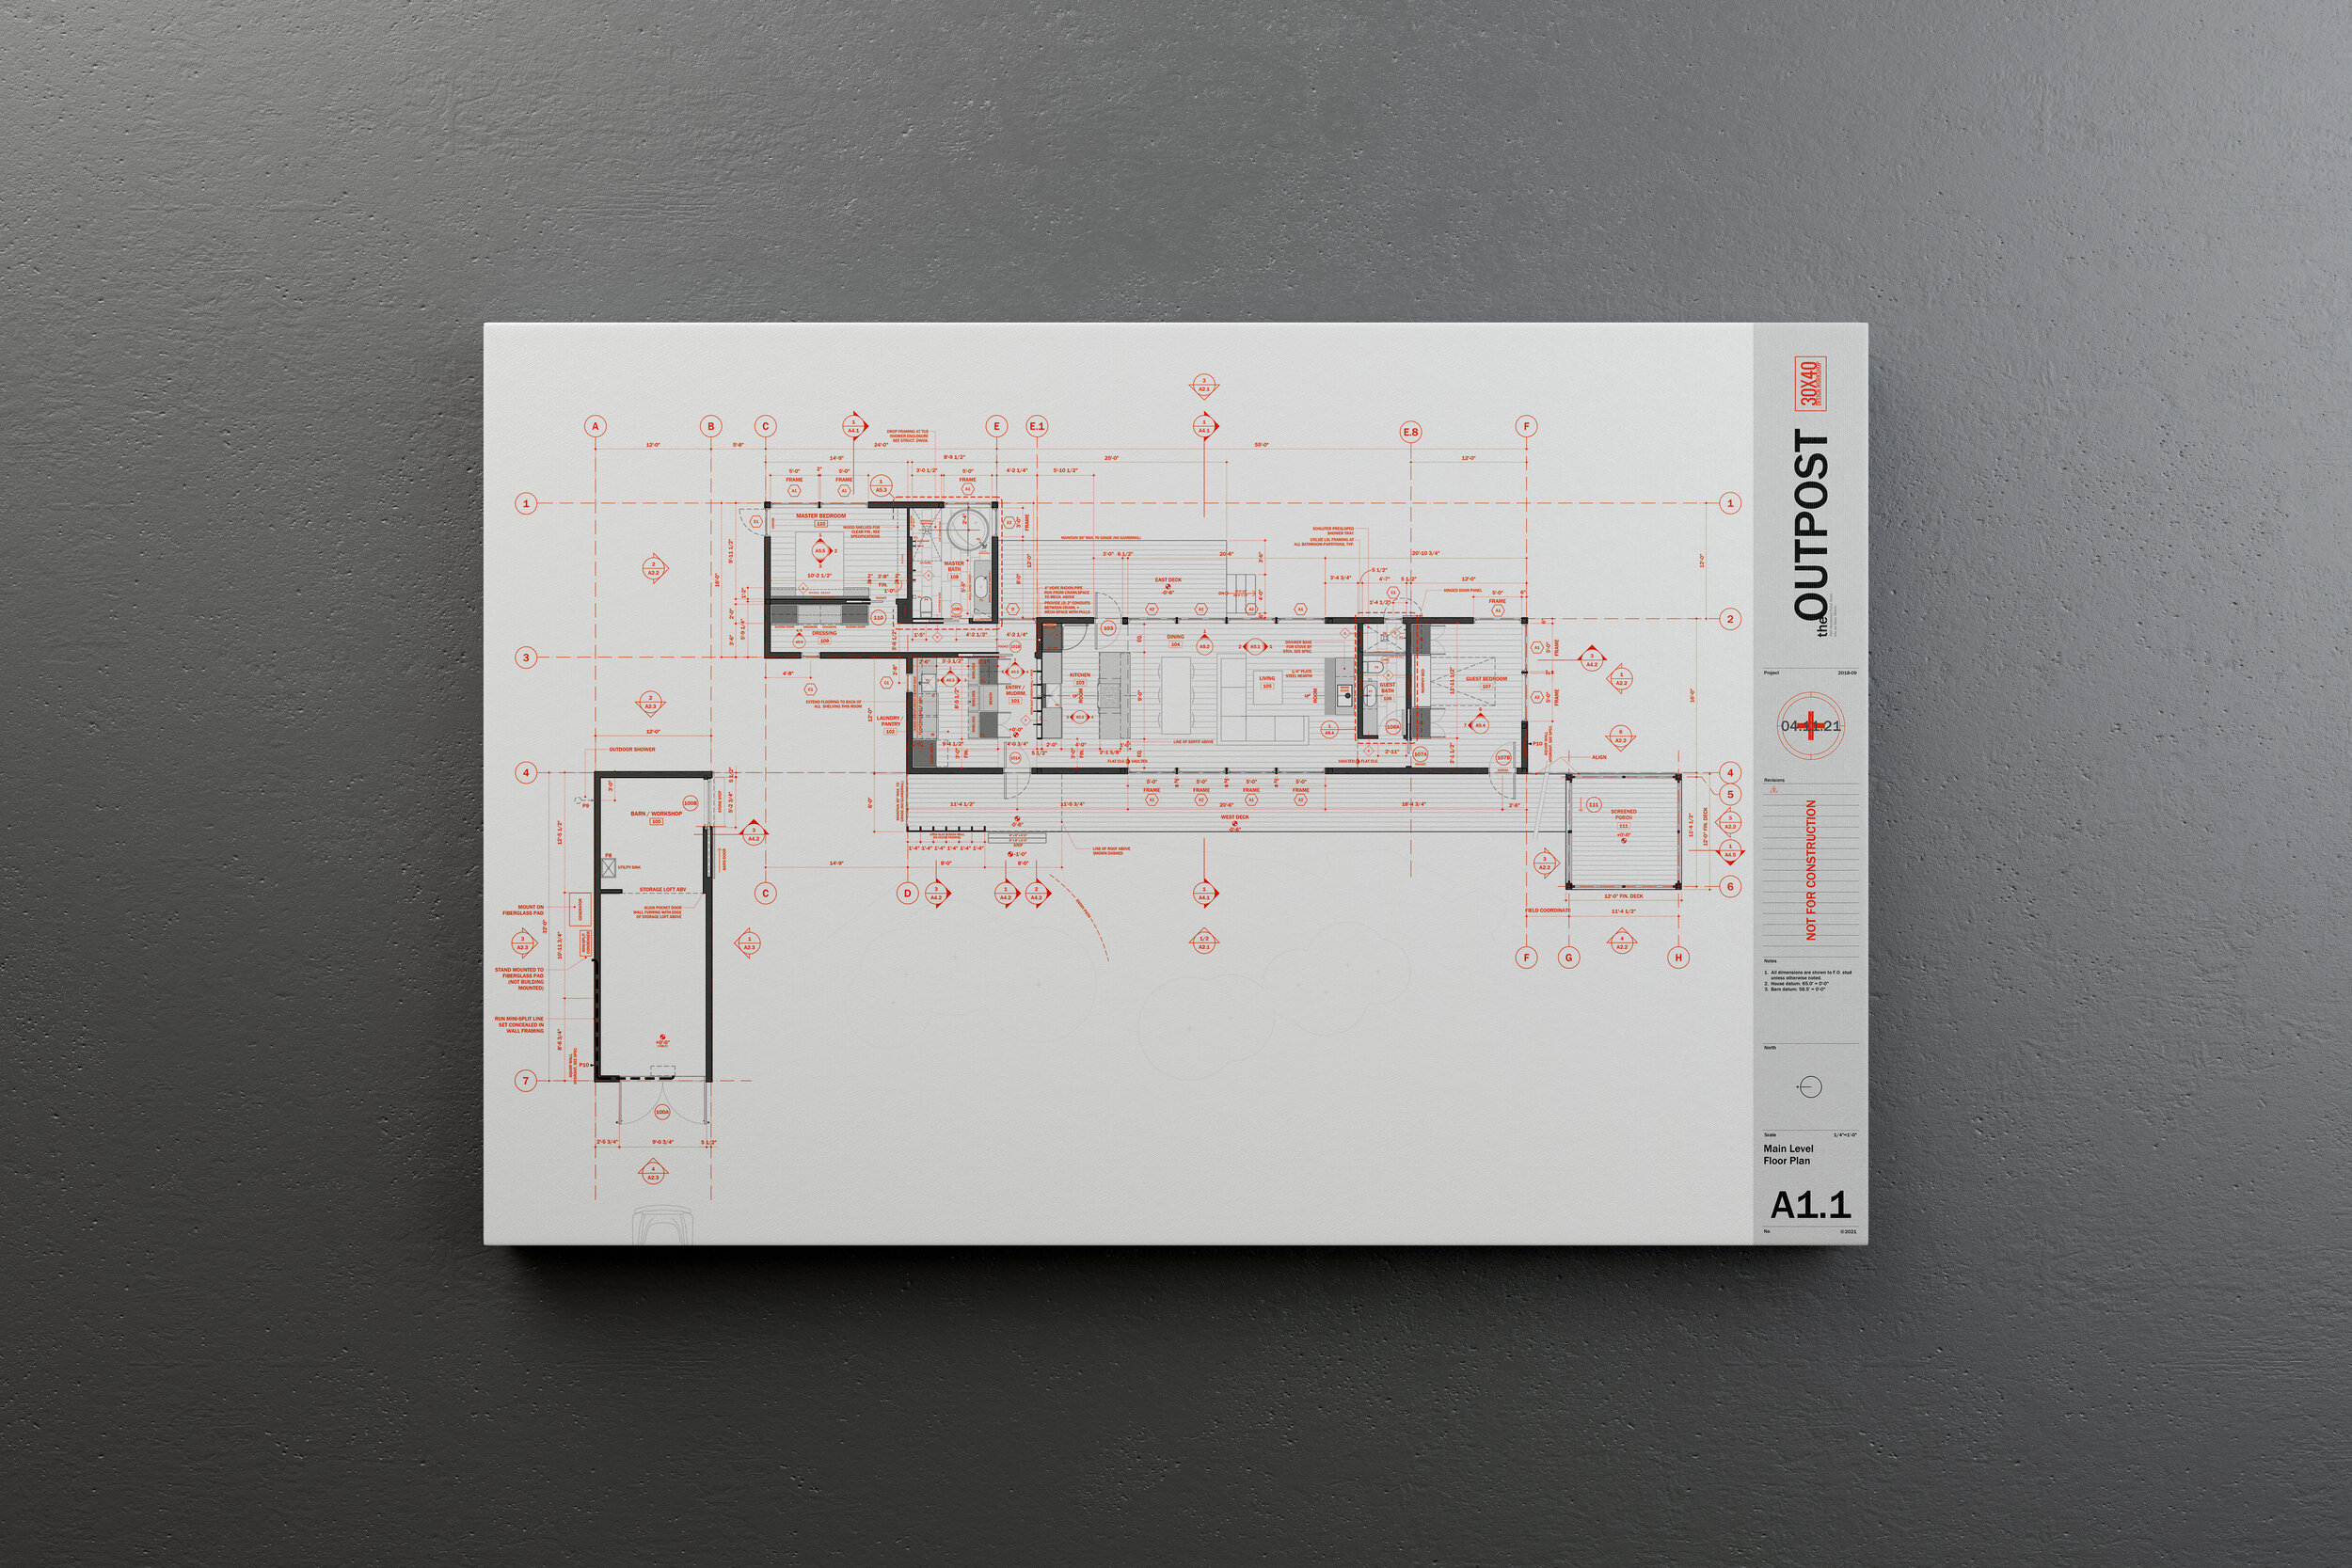
Door details and hardware selections are one subset of the thousands of decisions you’ll make when designing a home. There’s only so much information we can layer on to our drawings. For the doors on this project I have: a full set of specifications, a door schedule and a hardware schedule that complement the drawings. This provide the trades all the details and information they need to build it to my standards and according to what my clients are expecting.
Imagine trying to call out all this information on a plan, a detail or simple set of door elevations? This is why I use outline specifications and schedules on all my projects, to cover all the things I can’t (+ don’t want to) draw. If you want access to my outline specification, and all my schedule templates, click below to download them.
They’ll help you simplify your spec creation, reduce the errors on-site, and help you to deliver high-quality projects. Be proactive and specify these details beforehand, rather than react to changes on-site in the heat of battle where changes are most costly.