Architect's Favorite Pocket Door Details + Hardware

One of my favorite design devices for saving space in a floor plan are pocket doors. You either love or hate them depending on your personal experience. That's mostly due to hardware. And when it comes to pocket door hardware, there's a big difference between the set you can buy at the big box stores and specification-grade hardware that design professionals use.

In the design of my own home, I chose pocket door hardware based on what I could afford at the time (which wasn’t much). And now, every trip to my bedroom serves as a reminder of why I don’t choose things on price alone. As much as I like them for clean, modern spaces, pocket doors aren’t right for every situation.

When to use:

  • Small Spaces: Ideal for bathrooms, closets, and tight areas where swing space is limited.

  • Flexible Designs: transform a room from closed + private to open + connected.

  • Changing Privacy Needs: Useful in rooms where occasional privacy + limited sound control is needed, such as home offices or guest rooms.

When NOT to use:

  • Renovations: When retrofitting a space, pocket doors can be difficult to work into walls that contain plumbing, electrical wiring, or load-bearing elements that can’t be moved.

  • Heavy Doors: less suitable for very large openings because slab weight make them more difficult to operate.

  • Accessibility Limitations: traditional pocket doors are more difficult to operate for those with limited mobility.

  • Frequent Use Areas: Less ideal for high-traffic areas where doors are constantly opened and closed.

  • Acoustical separation: When a high degree of sound control is needed, pocket doors shouldn’t be considered as they’re impossible to seal.

They do require some extra planning and consideration, this is a checklist I work through when designing and specifying pocket doors:

Wall Framing:

  • Field-build the pocket. Many of the frustrations of pocket doors come from using a pre-assembled or pocket door kits fabricated with inexpensive materials. Site-building the pocket allows the best results. I prefer to frame it using LSL studs + plywood which eliminate shrinkage and warping you typically see with dimensional framing. To secure the plywood, you can either fasten it above the ceiling plane (per the detail shown) and below the finished floor or be sure to use pocket screws to ensure you have a completely flat surface to install your wall finish over.
    Pro Tip: Another quick option is to use 1 3/8” solid core doors for the pocket faces. This saves you the framing work and makes for an excellent flat attachment surface. Works great for standard size pockets but not as well for large or custom openings.

  • 2X6 Partitions. All interior partitions are drawn my plans as 2X6 (5 1/2” actual). This reduces the number of interior wall types, easily accommodates basic utility runs (including radon piping) and allows any wall to receive a pocket door now or in the future. Width-wise this fits: the door slab (1.75”), a layer of 3/4” plywood on each side to fasten your wall finish to, the LSL support framing and buffer space for the door to move freely in the pocket.

  • Pad down the header. In load-bearing walls I always want the header set as high as possible so the GC can build down the pocket with layers of plywood to set the subtrack (see below) at the desired height.

Door slab:

  • 7-ply architectural (1.75”), solid core, flush doors are my baseline standard. I generally spec paint grade (with a Poplar or Birch veneer) as I want the door to marry seamlessly with the room it’s dividing. When cost or weight are an issue, you may opt for a 5-ply architectural instead, but I find that the heavier 7-ply slab allows the hardware to function more smoothly and is a tactile indicator of quality. Heavier doors “feel” more luxe. Whatever you choose, just remember to check the weight (architectural solid core doors are VERY HEAVY) and choose hardware accordingly. Here’s a handy calculator.

  • When scheduling these doors, I always call for an additional 1” of slab width so when the door is closed there’s 1” that remains in the pocket. This helps to minimize sound and light leakage at the pocket side and leaves padding for adjustment and less-than-perfect construction tolerances. Don’t forget to add this to the pocket depth too when you’re drawing the plans!

  • The hardware you choose will depend on the door size, weight and thickness so I like to calculate that for the largest slab on the project in this step before moving on to specify the hardware. I think it’s easier to select and specify the hardware based on the largest door in the project and keep the details and framing heights the same everywhere.

  • One additional consideration: how will you finish the door slab if rooms have different color schemes inside vs. outside. My rule (generally): the exterior (hallway/entry side) wall color will dictate the exposed slab edge color for painted slabs and the interior slab face will match the interior room color.

Hardware:

  • Track Hardware. Hafele make the best pocket door hardware in my opinion. My starting point is usually the Hawa Junior 80/B series. Remember to check the weight of the door slab first! The 80 series is rated for doors weighing up to ~176 pounds. If you’re close to the maxing out the rating, always size up.

    • Trolley design: High-quality rollers and machined aluminum tracks ensure smooth, silent operation. The combination of the minimal clearance (1/8”) between track and door and, the pivoting trolley design allows the door to be installed and removed at any time.

    • Soft Close = Happy Home: Built-in soft-close mechanisms and track stops gently slow the door to a stop, eliminating slams and preserving the longevity of your door, the jamb, finishes and hardware.

    • Adjustable: the real genius of this is the subtrack system (this is the B part of the model number). The subtrack mounts to the framing and the trolley track “clips” into the subtrack after the fact. This means you can remove both the door and the track at any time without opening the wall. Need to adjust the pocket side stop, the soft-close mechanism or spring tension? No problem.

    • Bottom track + center guide. I don’t love the default Hafele floor guide, it looks cheap and it has too much friction (I find). So, I usually call for an aluminum pin painted black to be set in the floor away from the pocket edge (so you don’t see it) and then call for a 3/8” wide rabbet in the bottom of the door slab to center the slab on the pin.

    • Options: The Hawa Junior 80 comes in various weight capacities and configurations, including long throw carriers allowing you to find the perfect fit for your specific needs and ceiling or trim finish requirements.

  • Flush Pulls + Locks.

    • Accurate Lock + Hardware are my default option. They offer a good selection of rectangular, modern flush pull hardware with both passage and locking mortise sets in all the standard US finishes. I also like that I can choose between an exposed or concealed fastener look depending on the project’s aesthetic needs. The edge pull activates with a button push and auto-resets when the door is closed at the strike jamb. There are many others, of course: Emtek, Halliday and Ballie, FSB.

    • One tip: confirm with the manufacturer the finish on ALL the components (edge pulls, buttons, thumbturns, locks, etc.) Some of the moving parts on some hardware are only available in brass. The problem is: when you use black hardware - which is quite popular at present - you may be surprised to find to find that the edge hardware is bright brass and not the black you were expecting. Speaking from experience here!

  • Trim.

    • A simple trim elevation clearly references the details and helps you the designer to visualize how all the reveals will fit together.

    • Every project is different but the detail for this project uses reveals milled into a solid wood perimeter trim which is one of my favorites. Here I used a clear finished white oak for trim; if it were painted I’d likely specify poplar.

    • Remember I said above that I like to keep 1” in the pocket? Well, this means you’ll also need to make the strike jamb and one side of the trim is removable to allow this to happen. I like to use concealed rare earth magnets on the back side of the trim to do this, but you could also use Lamello Tenso clips if you prefer.

    • As you can tell, all of this requires careful opening preparation; a mock-up really helps to work out the kinks beforehand.

    • Pay special attention how the strike jamb and head detail interface with the track. With a removable stop on one side, it’s easy to leave an unfilled gap where it transitions from the strike jamb to the head detail, right at the center where the track stops. Mock this up!


Door details and hardware selections are one subset of the thousands of decisions you’ll make when designing a home. There’s only so much information we can layer on to our drawings. For the doors on this project I have: a full set of specifications, a door schedule and a hardware schedule that complement the drawings. This provide the trades all the details and information they need to build it to my standards and according to what my clients are expecting.

Imagine trying to call out all this information on a plan, a detail or simple set of door elevations? This is why I use outline specifications and schedules on all my projects, to cover all the things I can’t (+ don’t want to) draw. If you want access to my outline specification, and all my schedule templates, click below to download them.

They’ll help you simplify your spec creation, reduce the errors on-site, and help you to deliver high-quality projects. Be proactive and specify these details beforehand, rather than react to changes on-site in the heat of battle where changes are most costly.

No Longer (Just) An Architect

An excerpt from a conversation I had with Maleick, a 22-year old architecture student from Baltimore. He’s preparing to graduate architecture school this spring, making plans, weighing his options and struggling with the anxiety of not knowing what’s next.

Twenty-two years ago, I stood where Maleick stands today, entering the profession with the same concerns, the same worries. And today - twenty-two years later - I’m no longer an architect. Yes, I have the degree and the license and buildings I’ve designed, but the profession I stepped into back then no longer exists. There are no more architects in the singular sense of the word. Today I’m a photographera graphic designer, a marketer, a filmmakera writer, a negotiator, an editor, a curator, and a creator. Professional practice is anything and everything we design it to be.

Approaching practice with a creator's mindset has allowed me to explore a spectrum of influences and interests and incorporate those into my work as an architect. In much the same way, my architectural training informs and colors my other creative pursuits.

The uncertainty remains though as a part of life. What do you think? Did I get it right?  What advice would you offer a soon-to-be graduate?

Drones and Architecture | How Creatives Are Using Technology

An in-depth gear review of - what I think - is the best drone on the market today for architects, architectural photographers, and creatives. I discuss the factors that influenced my decision to purchase the Mavic Pro from DJI, unbox it, and describe the use cases and features architects and creatives will care most about.

Factors influencing my decision to purchase the Mavic: cost, portability, camera quality, ease of use, and flight time. The Mavic Pro managed to come out on top in each category almost every time. 

I purchased the Fly More Combo which included extra batteries, a four-hub charger, a car charger, extra propellers, carrying case and a power hub. See the video for the entire unboxing.

I'm using the Mavic Pro as a portable drone for:
- Project documentation
- Presentation + marketing
- Architectural cinematography
- Site analysis
- Topographic mapping
- Construction observation
- Educational tool
- Lead generation (working with Realtors)

I also discuss the essential accessories and apps you'll need to operate the Mavic Pro
- ND filters by PolarPro, Airmap, DJI Go 4, UAV Forecast, SunSeeker

I close the video by reviewing current FAA regulations regarding hobby and commercial use of drones in the USA.

Essential Architecture Books

The books in an architect's library provide context for their work: history, precedent, theory, technics, best practices, fresh perspectives and creative stimuli. The ones I return to often are like harmonic frequencies, which continue to vibrate and resonate over time even as my ideology is evolving.

Is it a coincidence that some of the most emotive connections to books and architectural writings were forged in architecture school many years ago? You know how they say the music you’ll listen to the rest of your life is the music you were into when you were 18? That’s how many of these books are for me. So, these precise books may not find the same resonance with you, but as a thought exercise, consider what your library currently says about you, your interests and your blind spots or your knowledge gaps one you might want to fill in.

Books feed the intellect, and a studio full of books assures we're surrounded by the ideas of many – the masters, colleagues, artists, entrepreneurs, performers, and documentarians. They’re a great equalizer when it comes to education and at a fraction of the cost of architecture school.

Be sure to check the resource page for links to all the books I mention in the video. 

Developing the Concept: Architecture Short Course (part 2)

Developing the architectural concept into floor plans, designing the form, and refining the spatial ideas are all covered in part 2 of our architecture short course.

The first step in making the abstract concept real is to sketch a floor plan and then give that plan a three-dimensional form. A floor plan is a quick way of describing the hierarchy and relationship of spaces and it begins fixing their real physical dimensions and shapes. Throughout the design process architects must continually consider the design in both the plan, or overhead view, and the sectional, or volumetric view. The easiest way I’ve found to do this is to begin by sketching a plan and then construct a three-dimensional version of that plan either in model form or by sketching.

In order to get to three dimensions, we have to make some decisions about form, space, and order. When we speak about form we’re referring not only to a building’s shape but also to its size, scale, color, and texture…basically, all the visual properties of an object. Form has a direct relationship to space in that it influences both interior and exterior rooms. And lastly, order is how we choose to orient and relate the forms and spaces to each other. This directs the inhabitant’s experience of a place.

We'll review strategies for refining the floor plan, designing meaningful building forms, editing, and converting two-dimensional abstract concepts into three-dimensional buildings.

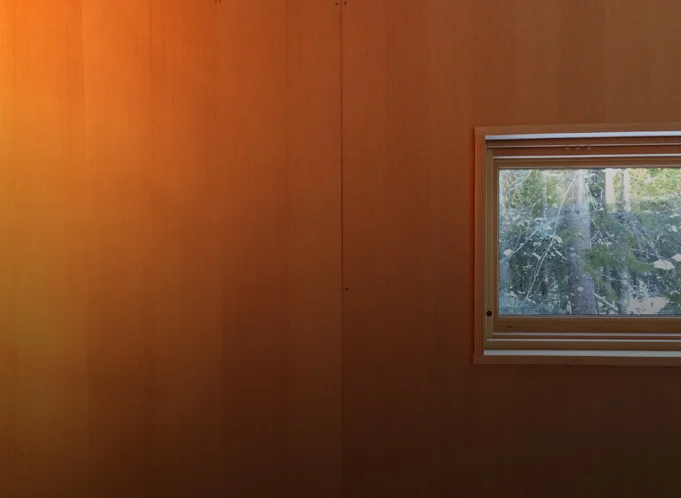
Studio Project: Plywood (as a wall finish)

My design studio acts a lab for experimentation, in this video I discuss lessons learned from installing plywood as a finished wall surface. The four main discussion points covered are:

1) Material thickness: 1/2" - 3/4" typical range. NOTE: if you're using sprayed foam insulation in your walls, the plywood covering must act as an ignition barrier for the foam - thickness will be critical. Thickness also affects: translation of framing inconsistencies to the finished surface, stability and price.

2) Panel cores and veneer faces. Steer clear of the Chinese Plywoods. Choose panels from the same lot and age if possible. Veneer plywood has a front and back side; the less banded side is the finished face. Take care when cutting to avoid material blow-out.

3) Attachment. Concealed versus exposed fastener. I recommend a concealed clip as well as a tip for aligning the finished face of the panels (it's a special fastener).

4) Finishing. Determine the project goals first, then select the finish. Mine were: - Low sheen - Preserve natural wood appearance - Easy to apply - Non-yellowing

I review oil-based and water-based finishes, Danish oil, spar varnish, paste wax, natural soap (Hans Wenger furniture), and finally WOCA oil + lye.

For a broader material discussion please see the video for part 1...

As always I welcome questions and feedback; you can reach me at: eric (at) thirtybyforty.com

Studio Project: Concrete Slab (as finished floor)

In this video I discuss five important considerations with a concrete slab that will act as a finished floor:

  1. Installer / subcontractor

  2. Color

  3. Consistency

  4. Control joints

  5. Reinforcing

You might also consider building a mock-up especially for large floor areas to ensure you’re getting the finish you expect.

I finish the video reviewing progress with a time lapse video of the slab placement and finishing.

Framing is up next...

Flat roofs and snow: 5 myths (busted)

In this video I dispel 5 common myths surrounding the use of flat roofs in snowy climates. The very notion of shelter is linked to the image of a roof above our heads. And while the elements of snow and rain may shape our living habits, advances in material technology and application now afford us a broad range of choice when it comes to the shape of the roofs over our heads. Contrary to popular belief, even those of us living in extremely snowy, wet environments are able to live beneath a flat roof. 


Designing a Small Studio - Lighting Plan (Part 7)

In this video I discuss the development of the lighting plan for our small studio project. I begin by discussed the (3) elements every professional lighting plan includes: ambient, task, & accent lights. I also describe a useful guideline for figuring out the amount of light required in a space as well as how I've applied the building concept to the lighting plan.I end the video by discussing a simple affordable fixture, why I chose not to use exposed conduit in spite of the aesthetics, and how to think about the location of your electrical panel (stay until the end for a cool little trick I employed).

Thanks for watching...

Four Homes Built on Boundaries

In this video I explore four homes built on boundaries. It's a look at how a home can challenge the natural environment and occupy the boundary between architectural convention and stunning natural beauty. When confronted with a design brief and an undeveloped site, architects often look to the edges of that site for inspiration and meaningful architectural solutions. These boundaries, both real and imagined, are exciting places to build. The boundary often gives rise to the form of the building, its materials and even how it’s structured.

Designing a Small Studio - Selecting Materials (Part 6)

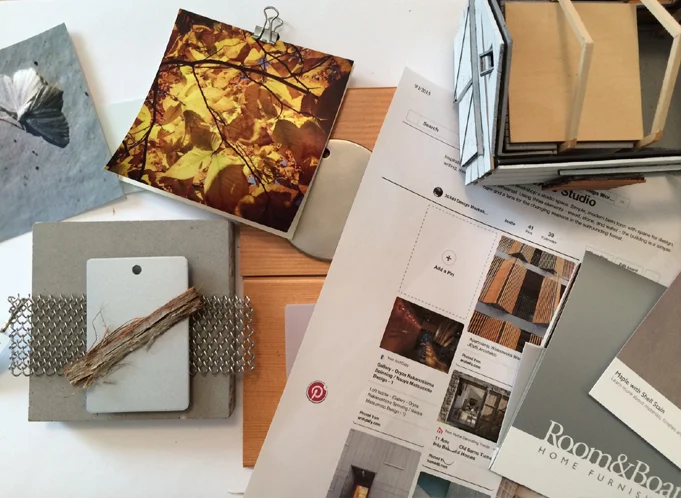
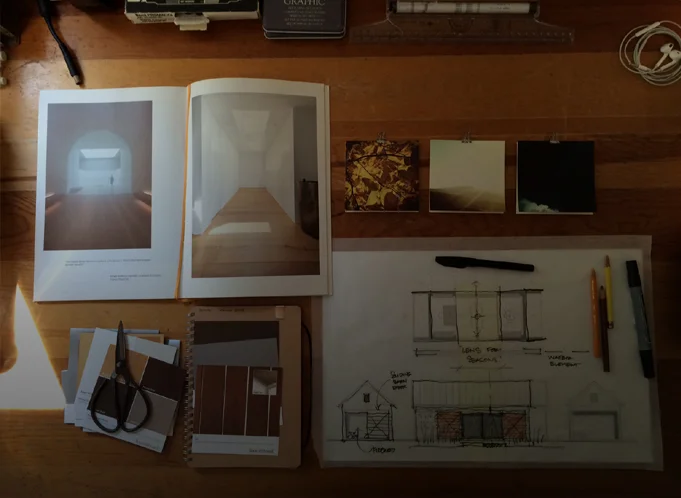
Materials can be used to convey the underlying concept of a building or in some cases they can function as the entire concept (Peter Zumthor is an excellent example). In this video I detail the process I used for connecting the "lens for the seasons" and "barn" concepts to an attitude about building materials.

I begin with abstract imagery, then build Pinterest boards with inspirational images, then I gather and collage materials. Instead of directly quoting the Pinterest images I draw upon their essential ideas to develop the material palette for the building.

The concepts are hard to compress into a short video (my apologies) if you stay tuned to the end I talk about a quick tip for securing free material samples I recently discovered.

How to Borrow Light

In this video I discuss natural daylighting strategies anyone can take advantage of. I begin with a short history lesson which describes how daylighting actually shaped the largest of cities in the US. In 1915 the 38-story Equitable Building in New York City was the largest office building in the world. Containing 1.2 million square feet of office space, it consumed nearly every available square foot of its diminutive lot and cast an equally large shadow on its neighborhood in lower Manhattan. Its construction inspired the enactment of the city’s 1916 Zoning Resolution, which was designed to preserve access to light and air at the street level. The resolution prescribed specific limitations for a building’s envelope — its outer walls — and would go on to shape the stepped forms that you see today on many of the iconic towers in the city.

This underscores the importance that access to daylight had in shaping even the largest of cities, the individual buildings that make up those cities and, more broadly, sensible building design. With an increasing focus on sustainable design practices, the smart use of natural daylight in our homes is no longer a luxury — it has become a necessity. At the heart of any good daylighting strategy is a concept of “borrowed” light: the capture of light falling on the exterior of a home and transporting it to the spaces where it’s needed.

Designing a Small Studio - Building a Study Model (Part 5)

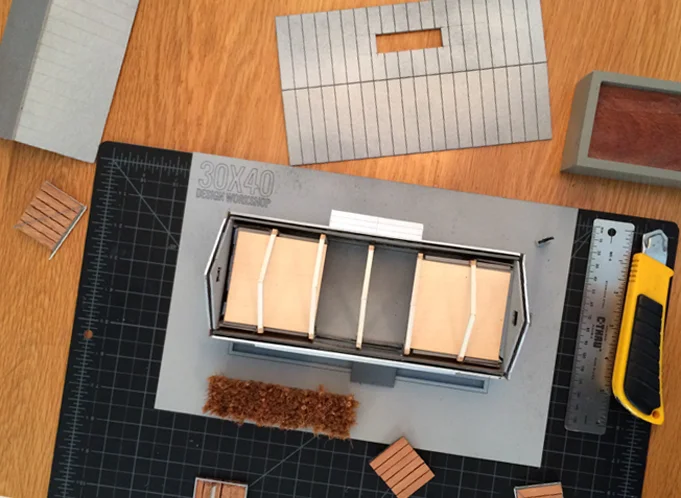
In this video I discuss the benefits of building a small scale, physical study model using the reference project I've been designing: my studio building. Computer models are excellent tools, but simple cardboard models allow real-time manipulation of forms and the development of ideas that don't always present themselves when working in a digital environment.

For me, model building has always been a part of the design process. They help: 1) To study building forms and spaces. 2) For real-time solar studies. 3) With envisioning scale of elements as they relate to the human form. 4) Allow one to explore a variety of material and color options, quickly and easily. 5) One can quickly flesh out ideas in much the same way a hand sketch might, however, model construction uniquely forces you to make decisions about building elements that sketching doesn't.

Future videos will describe sketchy model building hacks and tactics to more quickly build a useful avatar for your architectural project.

Designing a Small Studio - Revisiting and Integrating the Concept (Part 4)

In this video I overlay the plan diagrams on the site plan which reveals a clear favorite. I go on to describe 6 tactics I use to turn a simple diagram into a meaningful floor plan. They are:

1) Study a building precedent (in this case a barn).

2) Develop an ordering system (grid, column layout, geometry, functional). Once it's established you can decide when to "disobey" the rules.

3) Create zones: entry, circulation, storage, living. Divide public and private spaces.

4) Analyze adjacencies - group common functions and support spaces. Make sure their orientation makes sense for the plan location.

5) Refer back to the concept. In this case the "lens for the seasons" concept reinforced the barn plan typology and spurred on new ideas.

6) Create layers of meaning. Begin by thinking about the way we experience space or places and look for opportunities for the building to enhance daily life.

The next video explores the use of small physical study models for solar, material, and proportioning studies.

Designing a Small Studio - Plan Diagrams (Part 3)

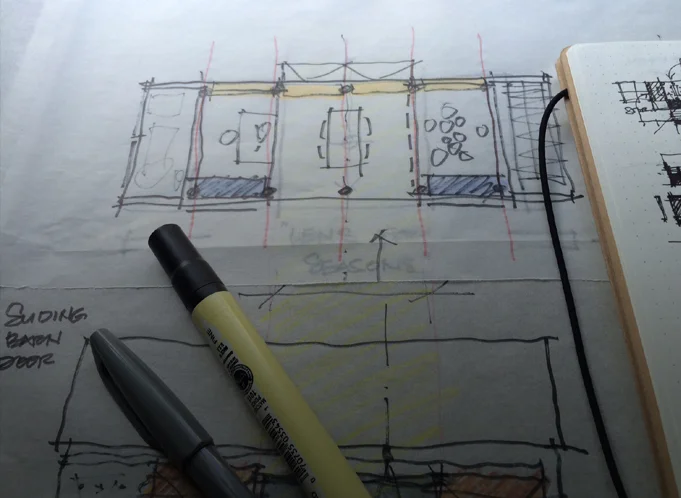
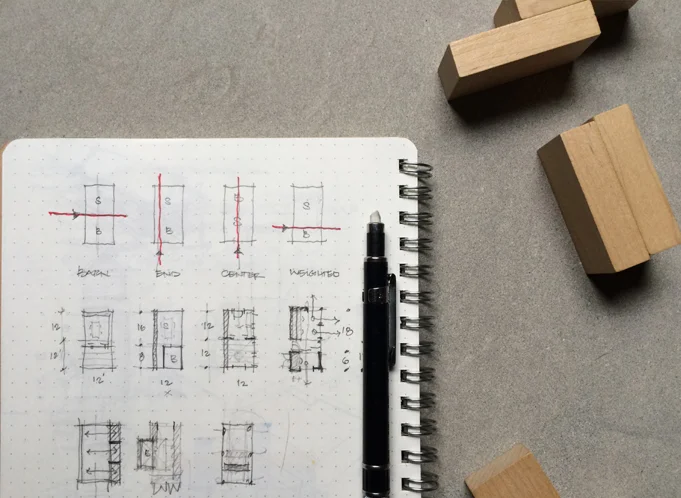
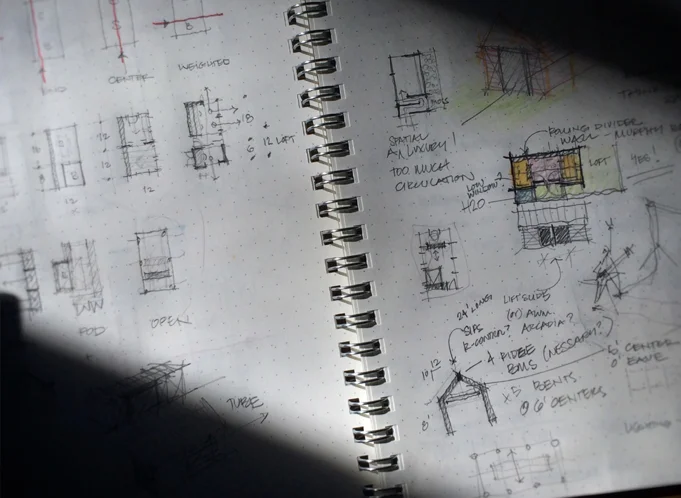
Part 3 in a multi-part video series where I dissect the design process for a small studio space. In this video I sketch out the four basic plan ideas I generated for the studio and describe the benefits and liabilities of each. Designing a floor plan begins with an understanding of the site, where the sun is, the winds, the approach, public and private areas and a precise listing of the spaces to be incorporated.

A well-designed floor plan synthesizes all of this information into a simple, logical connection of rooms. The process I describe works for buildings that are extremely simple - such as my studio - as well as very complex structures.

Designing a Small Studio - Inspiration (Part 1)

In this video I discuss the inspiration for the design of my small studio and workshop here on Mount Desert Island. This is part 1 in a multi-part series I've been recording as I continue to refine the design and prepare for the construction of this project. Part 1 discusses the site inspiration and how living on the coast of Maine has informed my design process. My work is site specific, narrative based and craft-driven; these concepts appear continually in my work and I hope this video offers some insight into how these abstract ideas develop into architecture. In part 2, I sketch out the plan concepts and parse the options to show you how I typically begin a project and move through the various options.